Crafting Our Future
As you may recall, Dan and I eloped last November. We are hosting a belated wedding reception for our family and friends — happening soon! Our party will be a casual, picnic-style event held outdoors. What better way to celebrate our union than with crafts representative of the aesthetic and lifestyle we share?
Dan and I are both still struggling to get out from under a significant amount of debt. I have been selling off my personal belongings of any significant value, but it has not been enough to keep up with our expenses. If you can, please consider helping us purchase our flowers and food. Click here to view our GoFundMe.
It has been a long, difficult road for both of us — and we both survived.
Celebrate With Us
“When you arise in the morning, think of what a precious privilege it is to be alive — to breathe, to think, to enjoy, to love.” – Marcus Aurelius
Our first collaborative artwork — a design for our postcard party invitations.
Materials: 6.5″ x 4.5″ on 140lb hot press watercolour paper; India ink, Bombay coloured inks; watercolour; Hunt 100 Artist Nib; small round brushes.
Lines, inking, and digital edits by me. Watercolour by Dan.
Busy busy busy!
Below are the hand-crafted decorations and favours I have been working on for our wedding party since March! You can find tutorials for making these items with a simple Google search, so I am only including tips that I did not come across.
My goal was to use as much secondhand, thrifted, and upcycled materials as possible — both to save money and be more environmentally-friendly.
A riot of fresh flowers as the finishing touch is my one and only splurge.
Click on the photos to see more on my Instagram account!
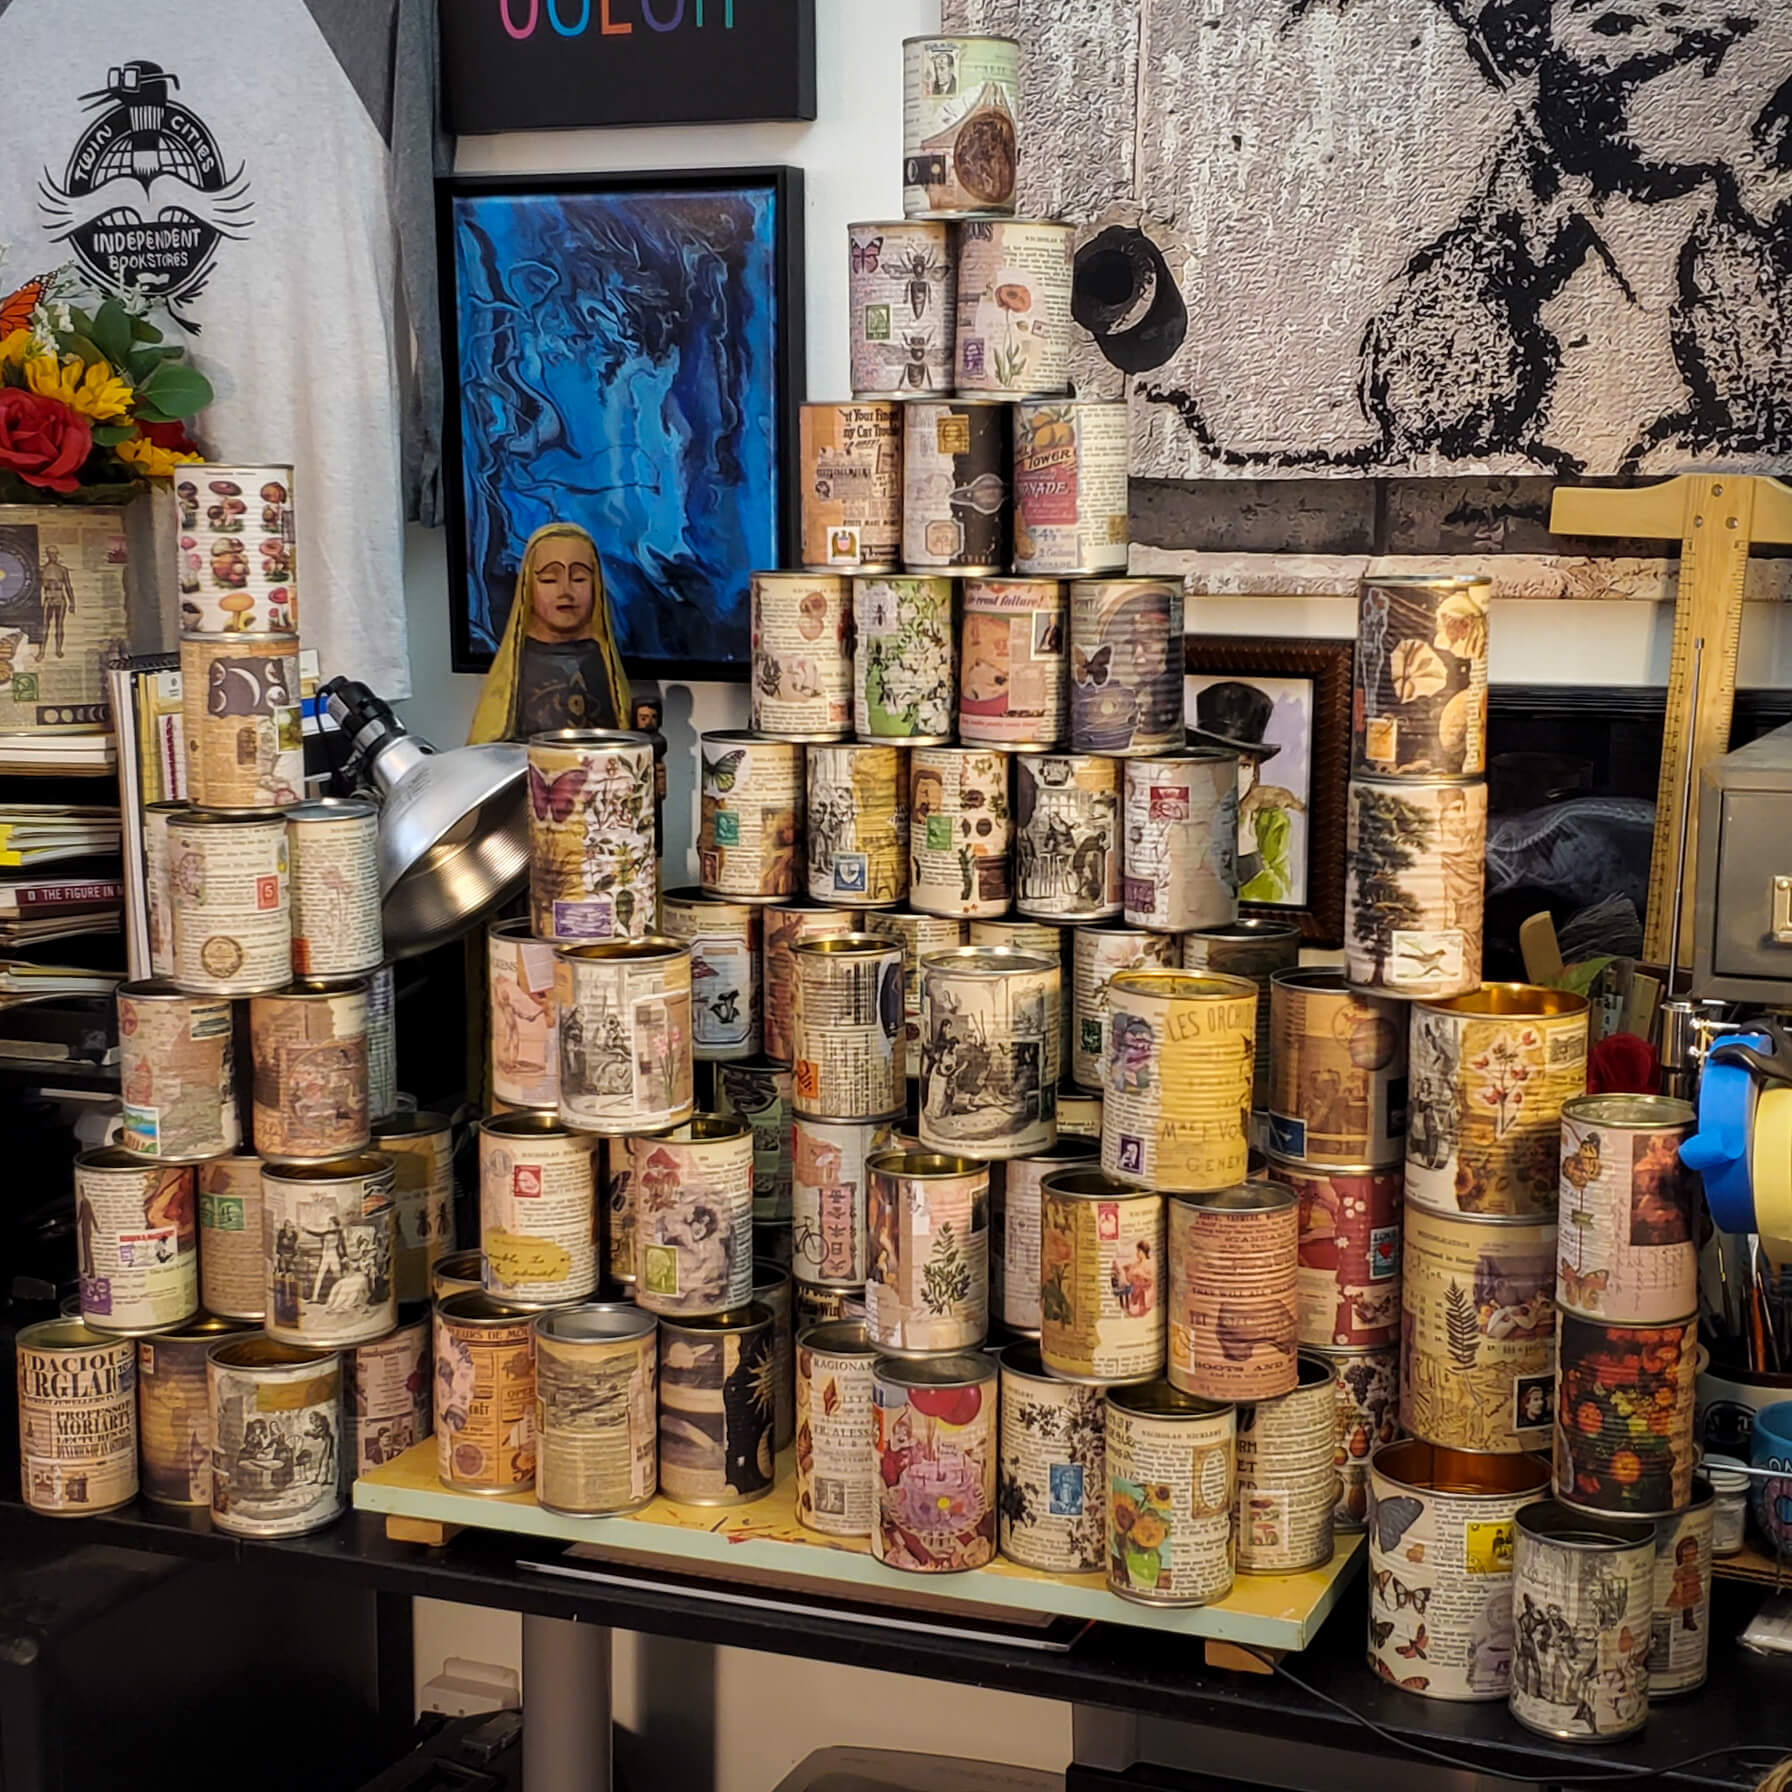
Craft Project: Decoupage Soup and Vegetable Cans
Time: About .5 hour per can, including design, application, and top coats.
Materials: Washed and dried empty cans, old books and scrapbook paper, washi stickers, used stamps, matte Mod Podge, matte acrylic varnish.
Tip: After applying all your decorations, let the Mod Podge thoroughly dry. Rub the can in your hands, letting the warmth from your fingers help shape the paper to the can ridges, and then apply a second coat of Mod Podge. Allow to cure 2-4 weeks, then varnish. Matte acrylic varnish gives a lovely, flat paper look.
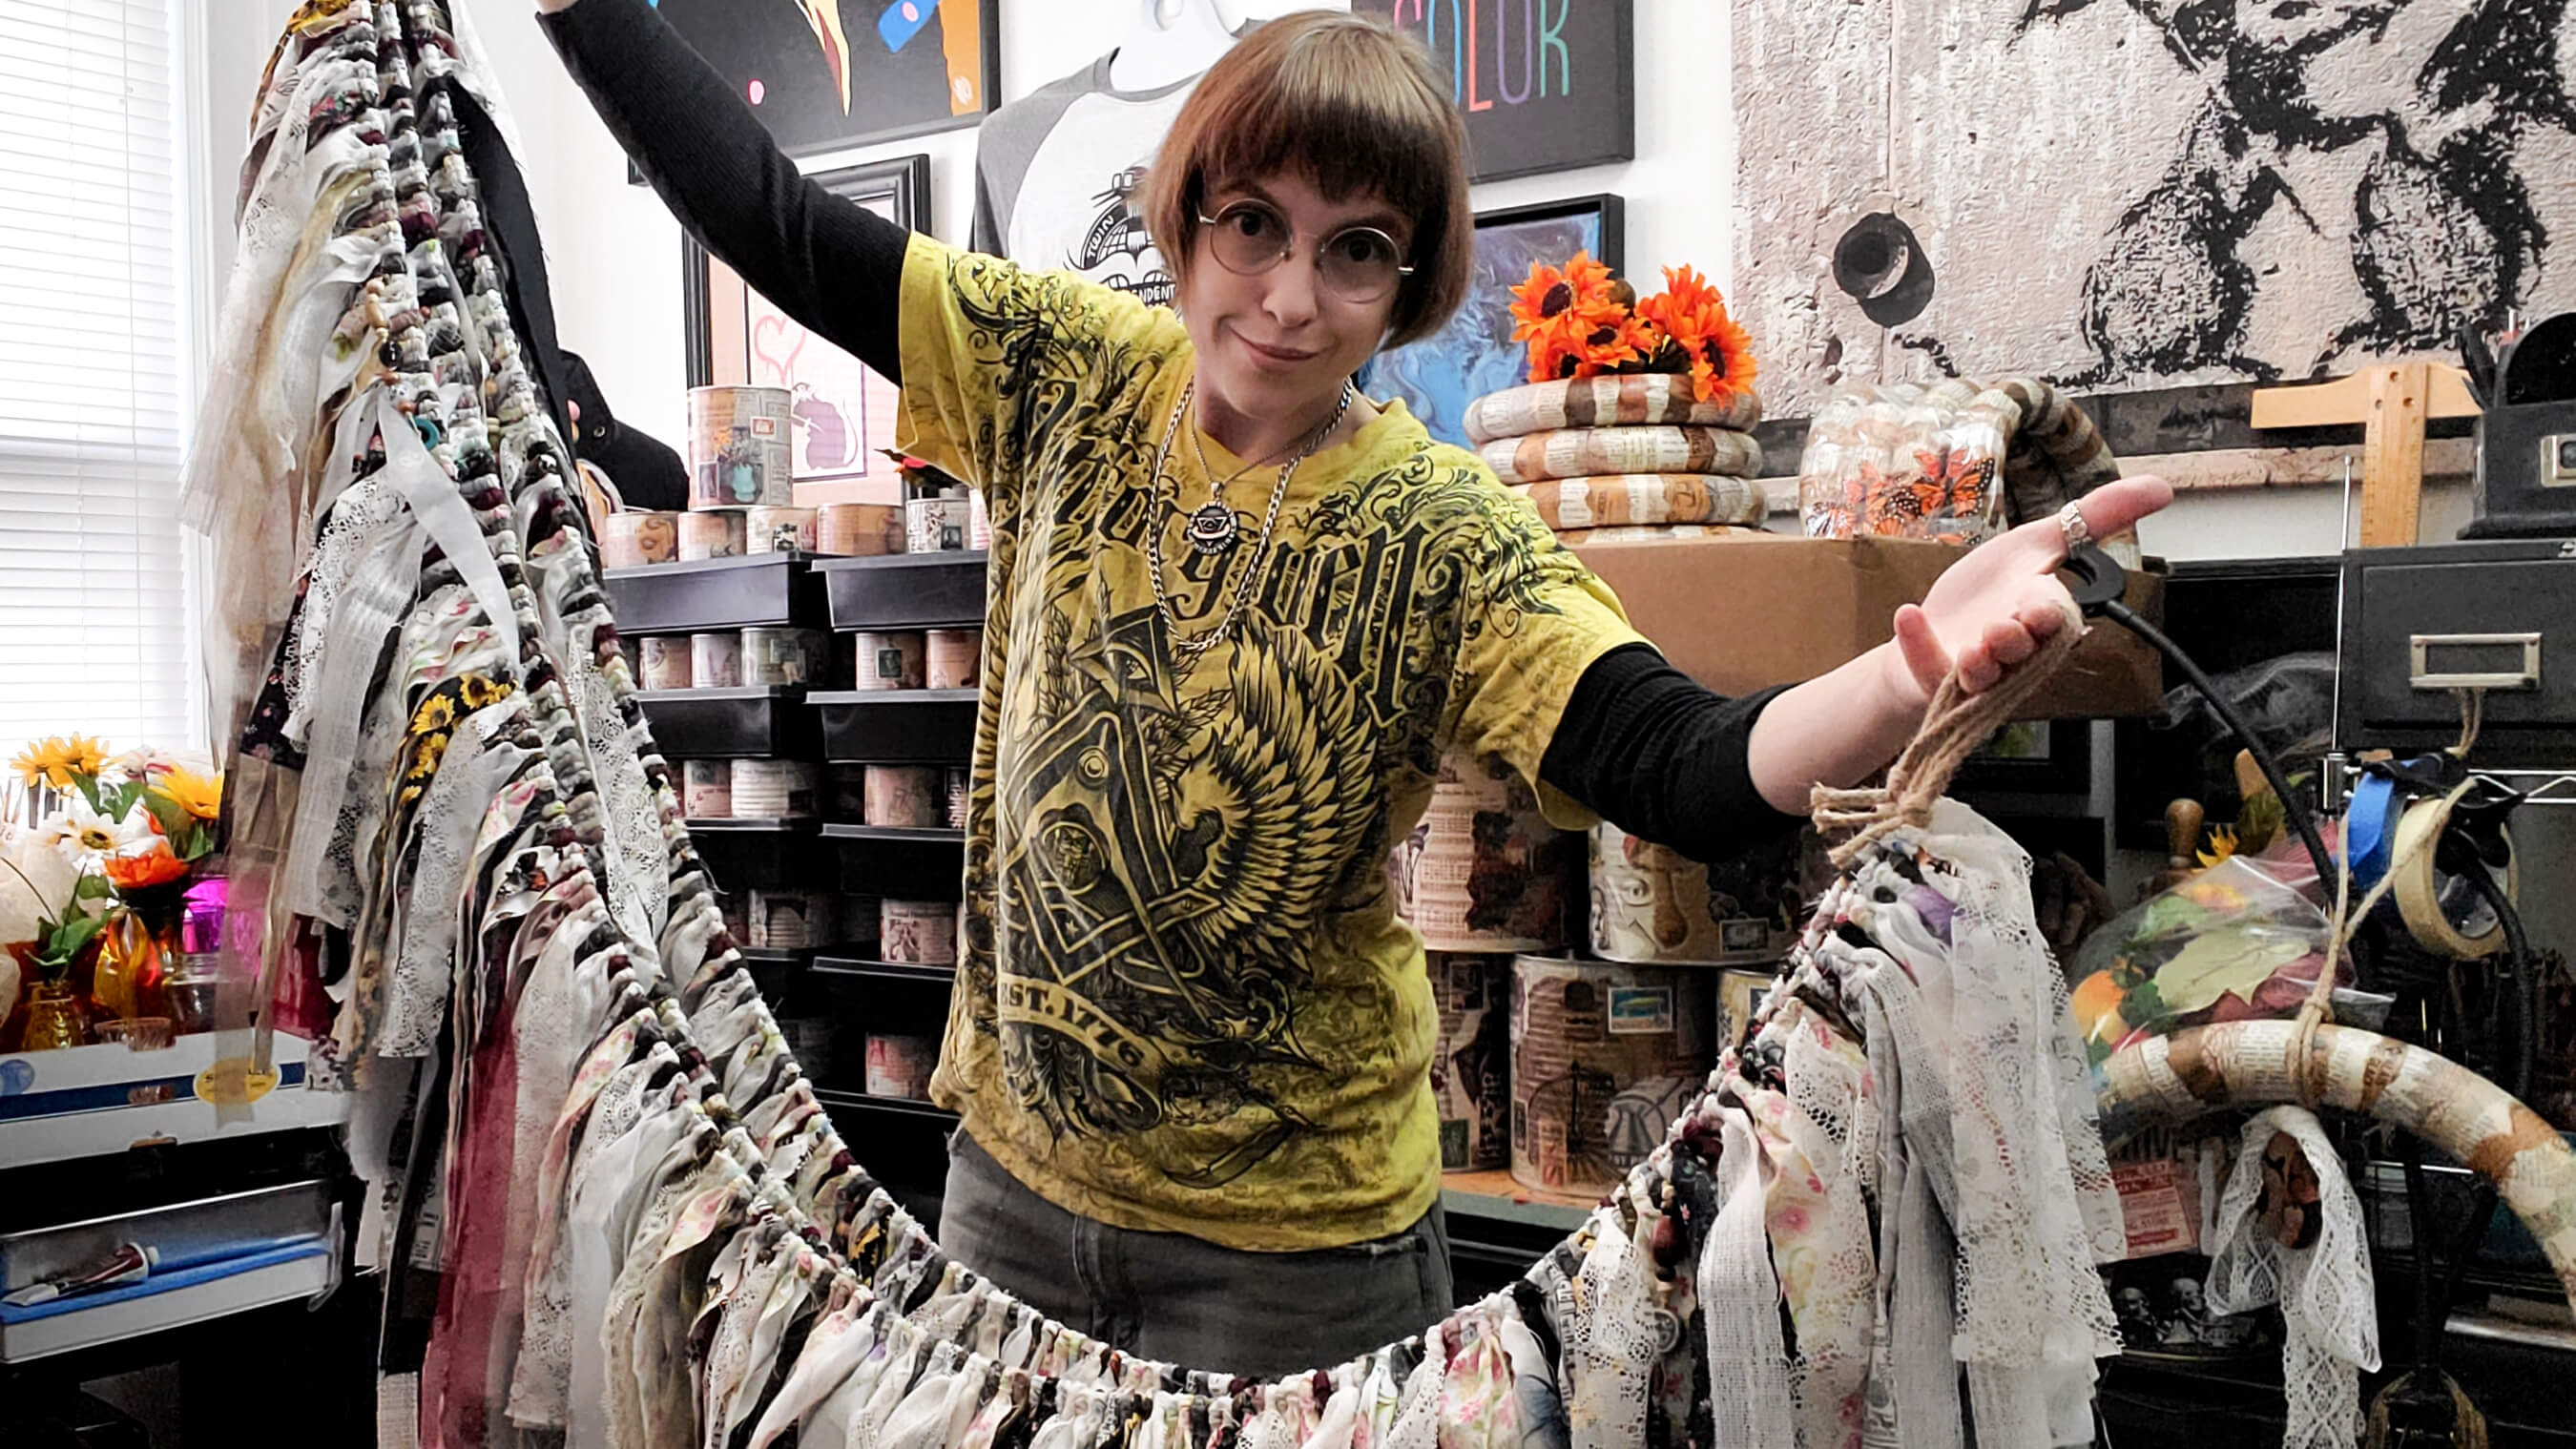
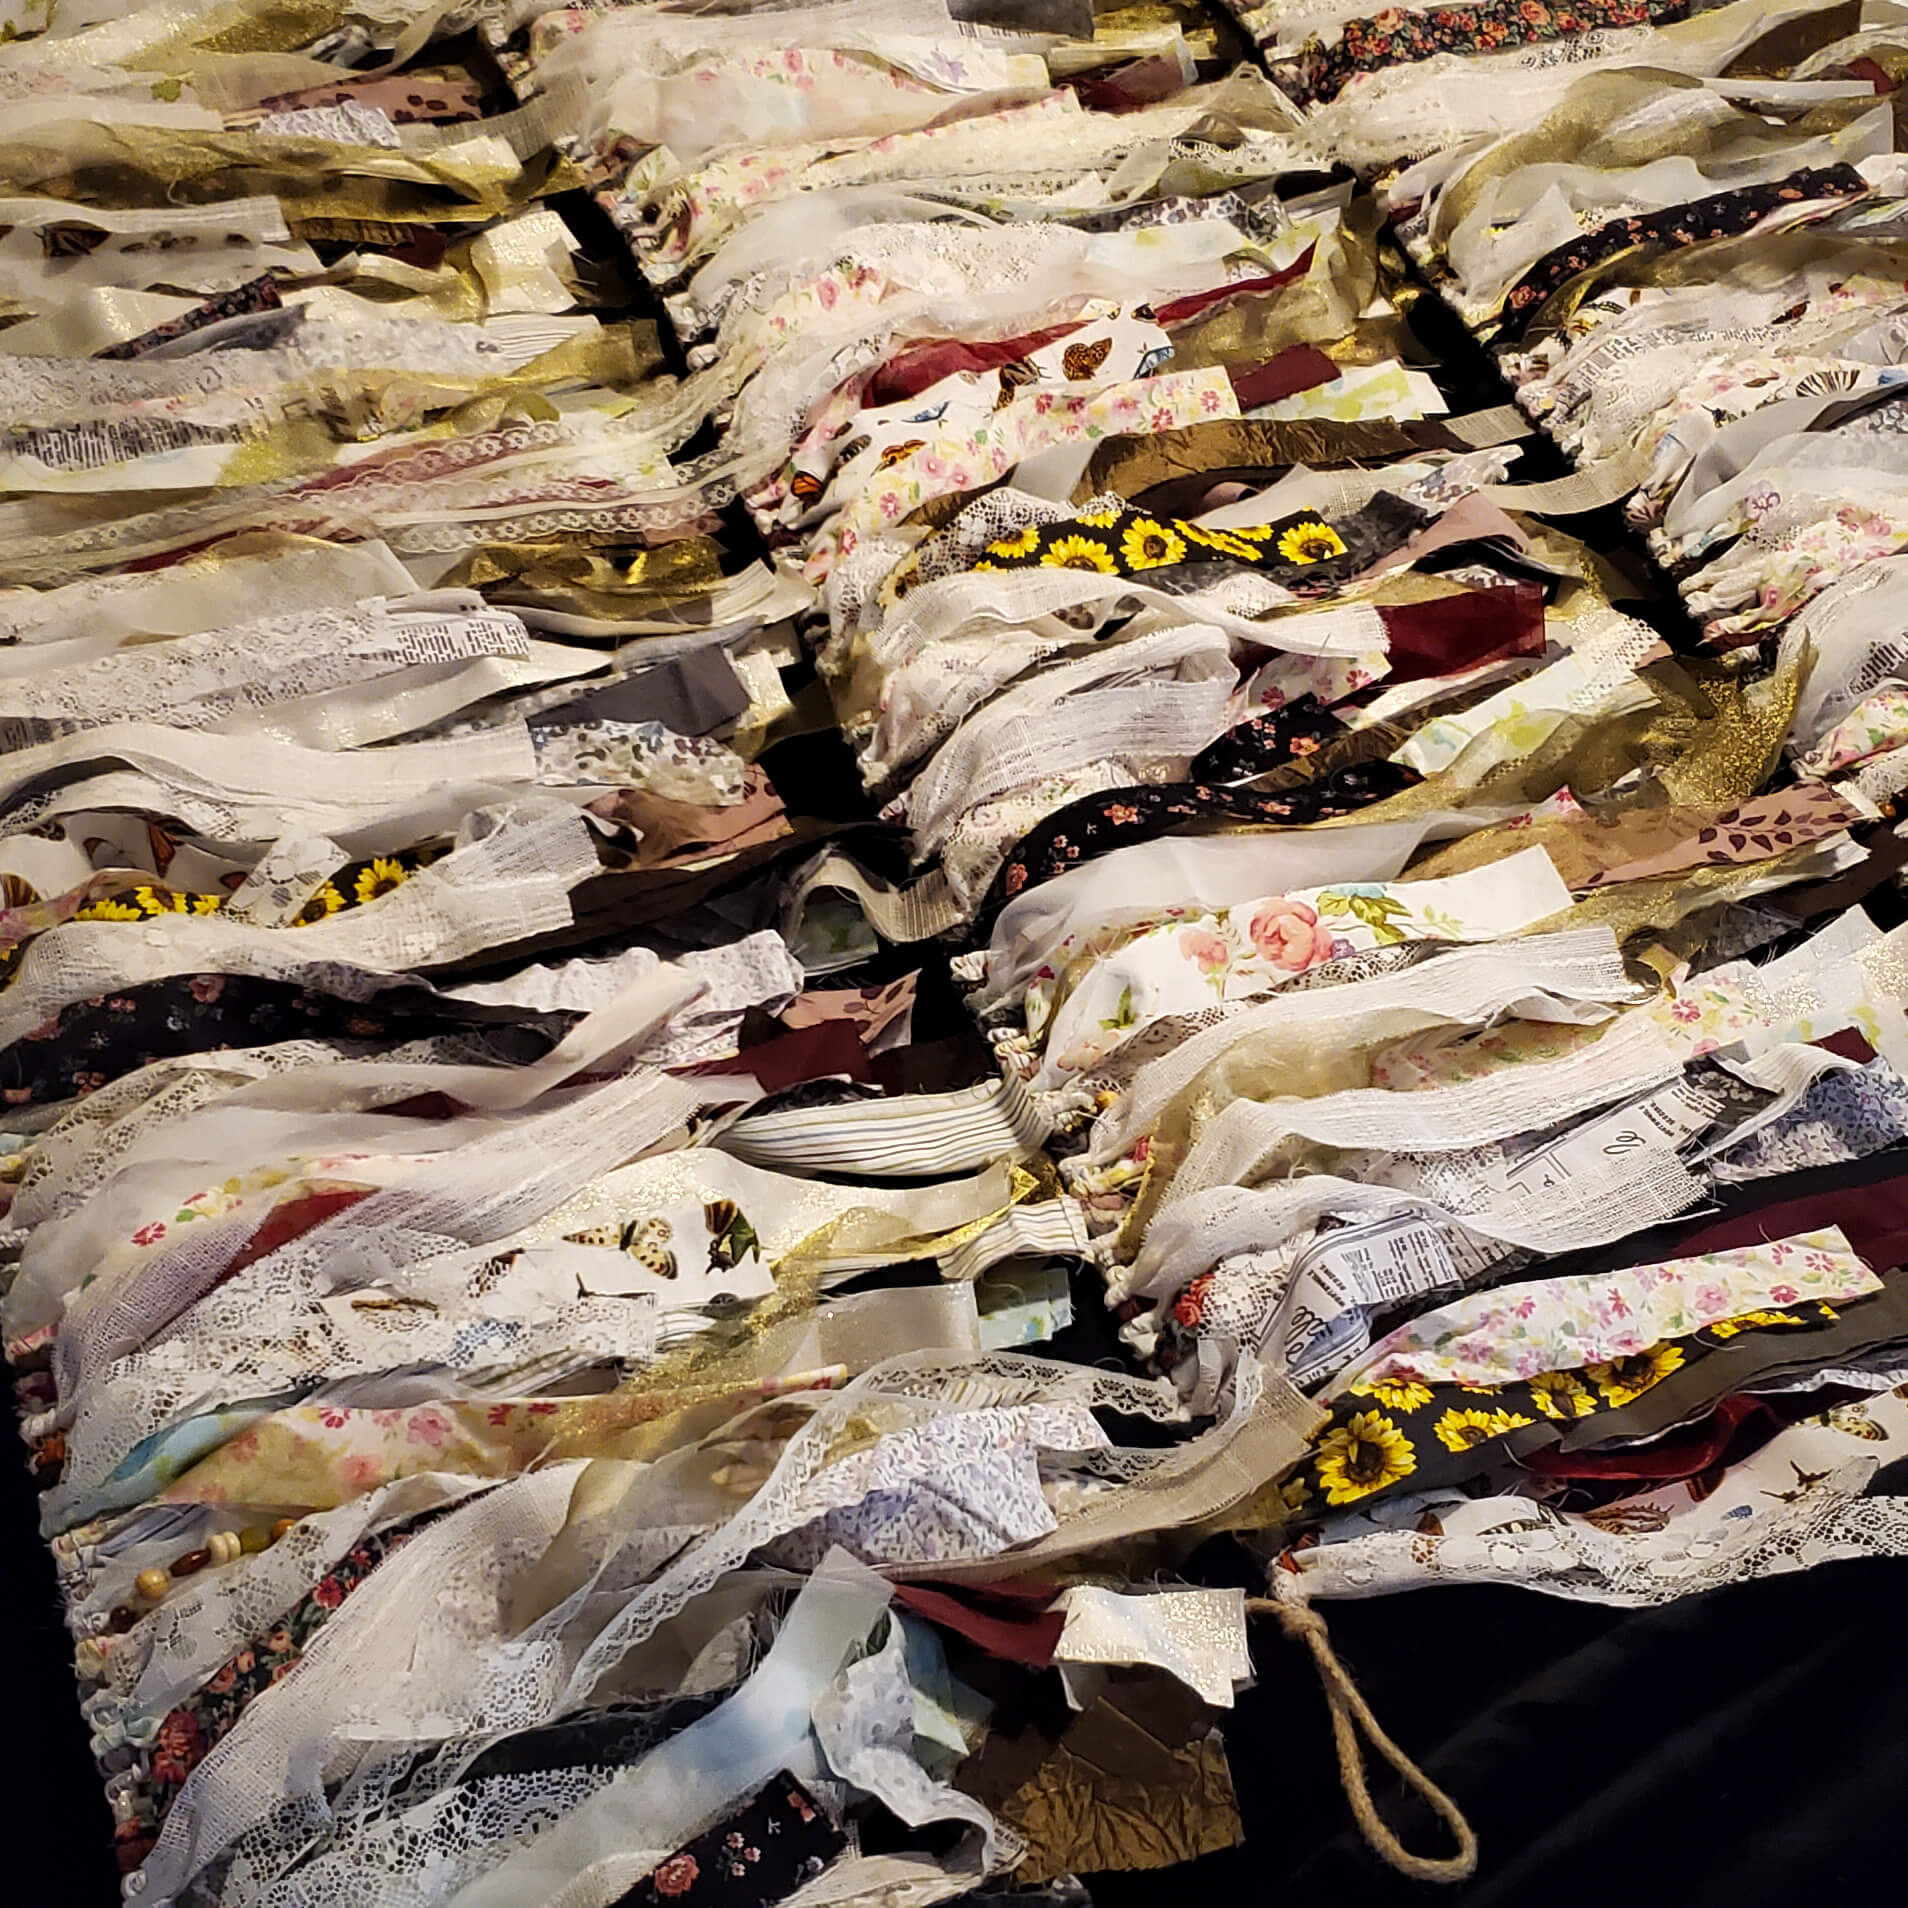
Craft Project: Fabric Rag Garlands (5 – 5.5ft)
Time: About 7 – 8 hours per garland, including cutting the fabric strips. Some fabric is faster to cut than others, such as cotton versus a slippery satin, so there are many variables involved. My garlands have roughly 225-250 strips each.
Materials: Thrifted bed sheets, curtain panels, and tablecloths; secondhand fabric; printed quilting fabric; lace ribbon, reclaimed and salvaged buttons and beads, assorted beads, beading cord, braided jute rope.
Tip: Don’t skimp on the quality of rope! These garlands are heavy.
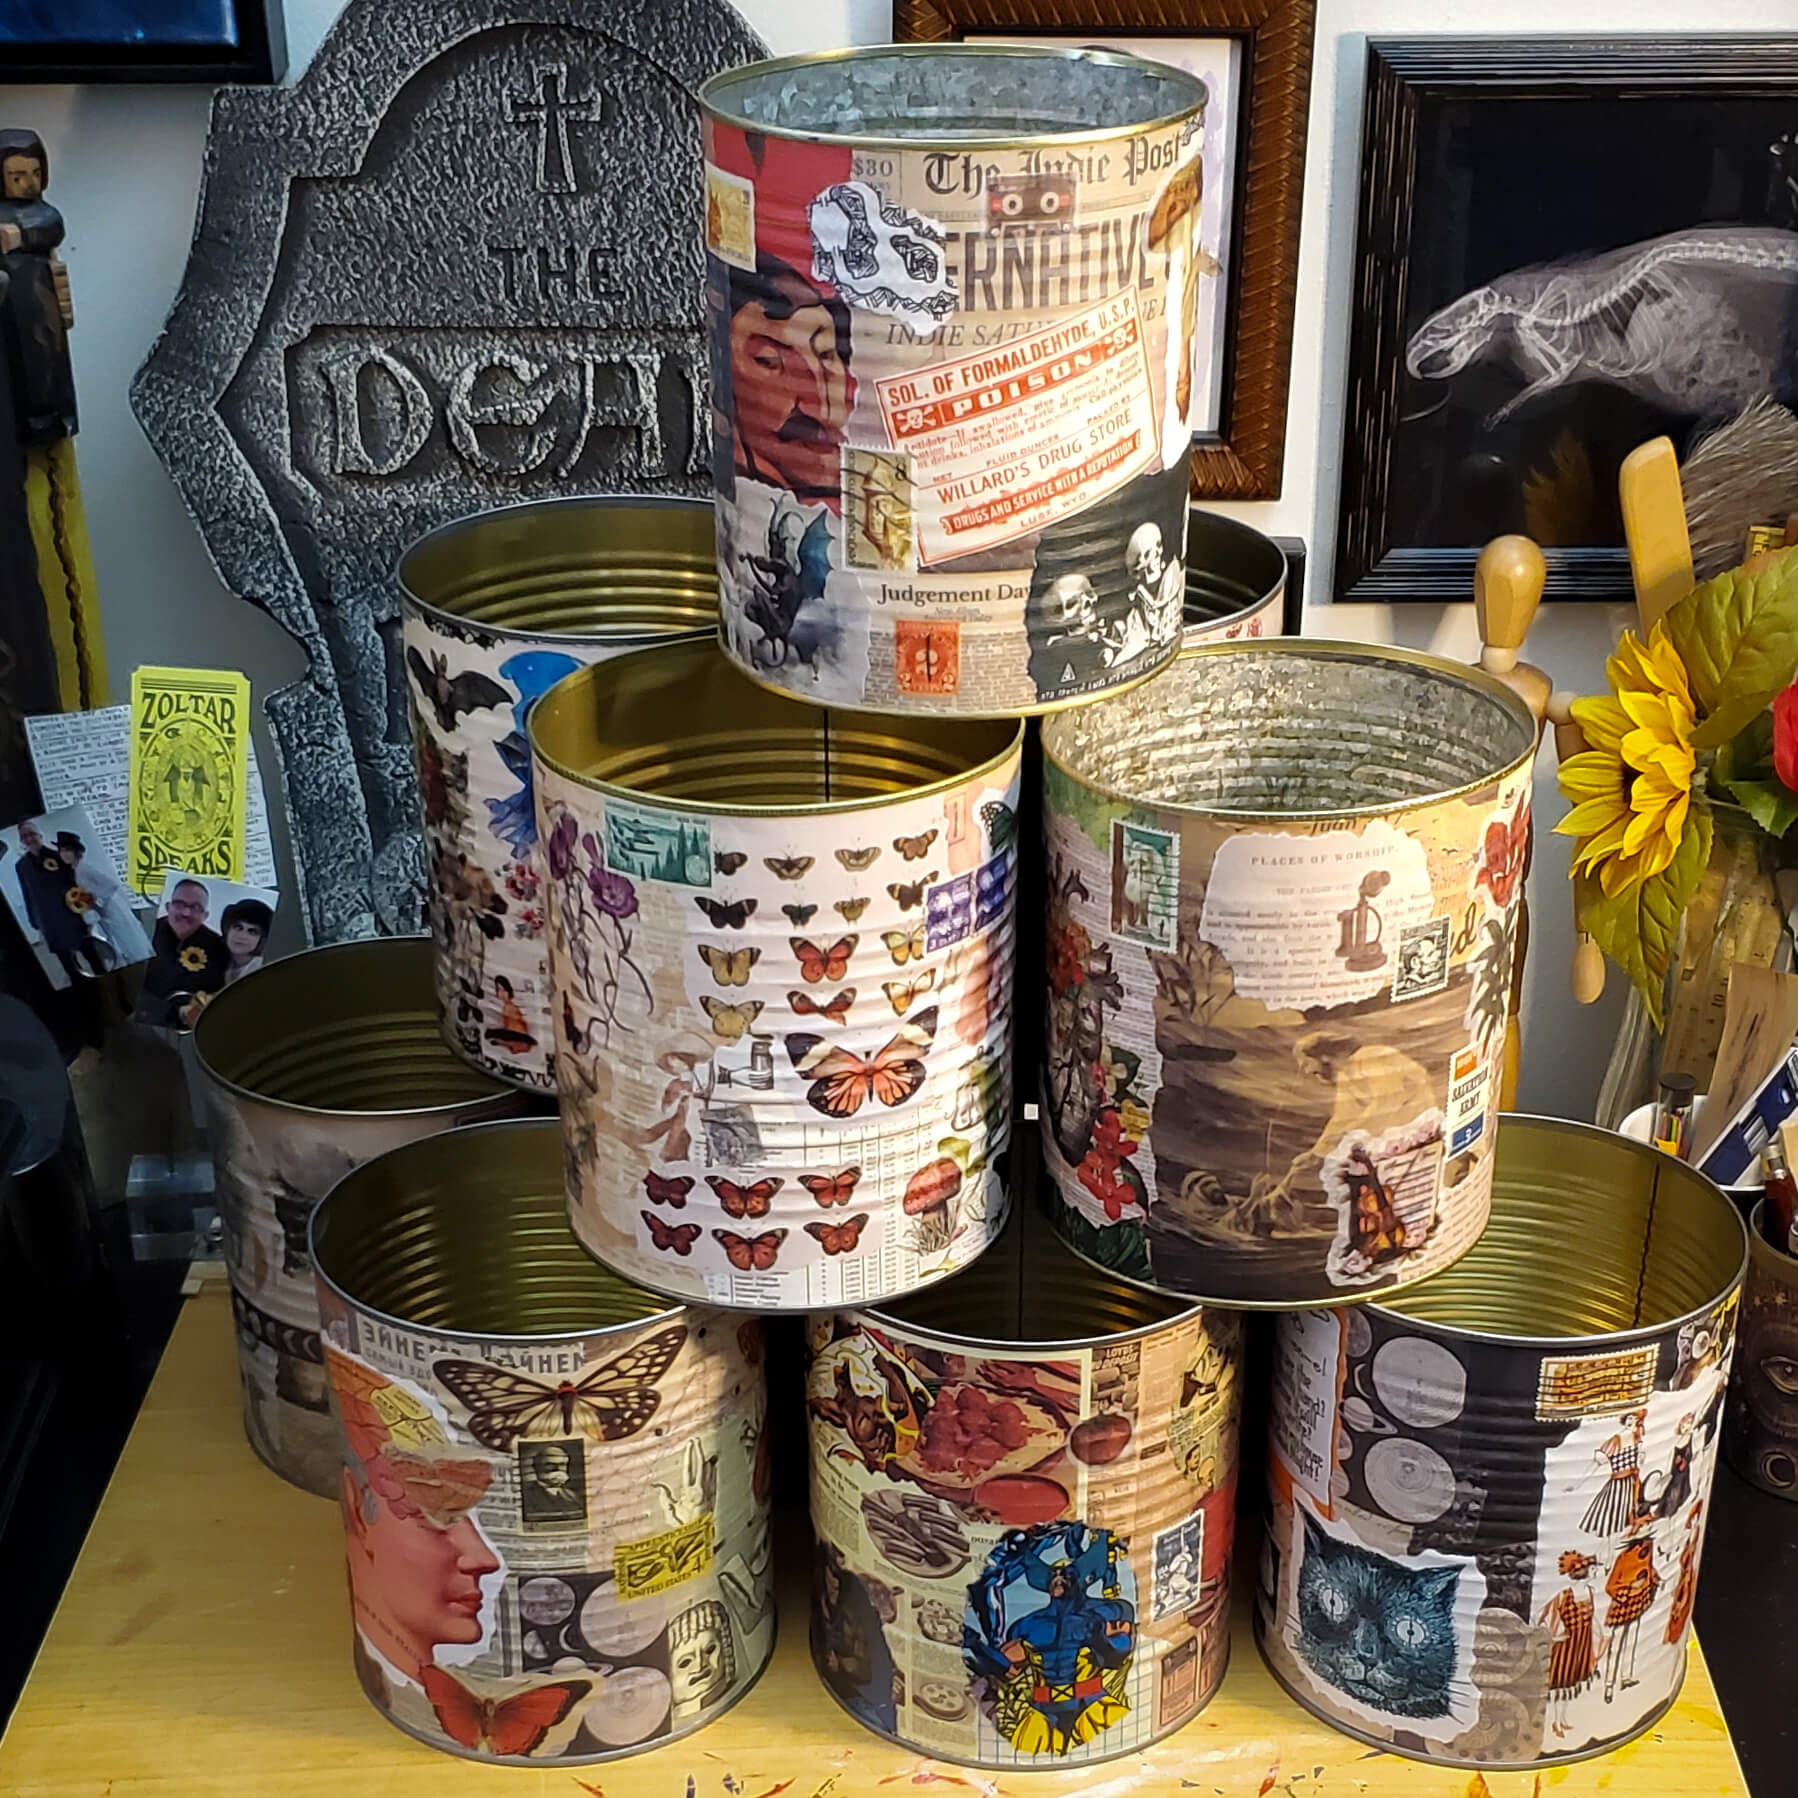
Craft Project: Decoupage Institutional Food Cans
Time: About 1 hour per can, including design, application, and top coats.
Materials: Washed and dried empty cans, old books and scrapbook paper, washi stickers, used stamps, matte Mod Podge, matte acrylic varnish.
Tip: Measure the height and approximate circumference of your can, and arrange your decorations on a tabletop before you start gluing. Once you start layering papers, it is nearly impossible to insert or rearrange items while you work.
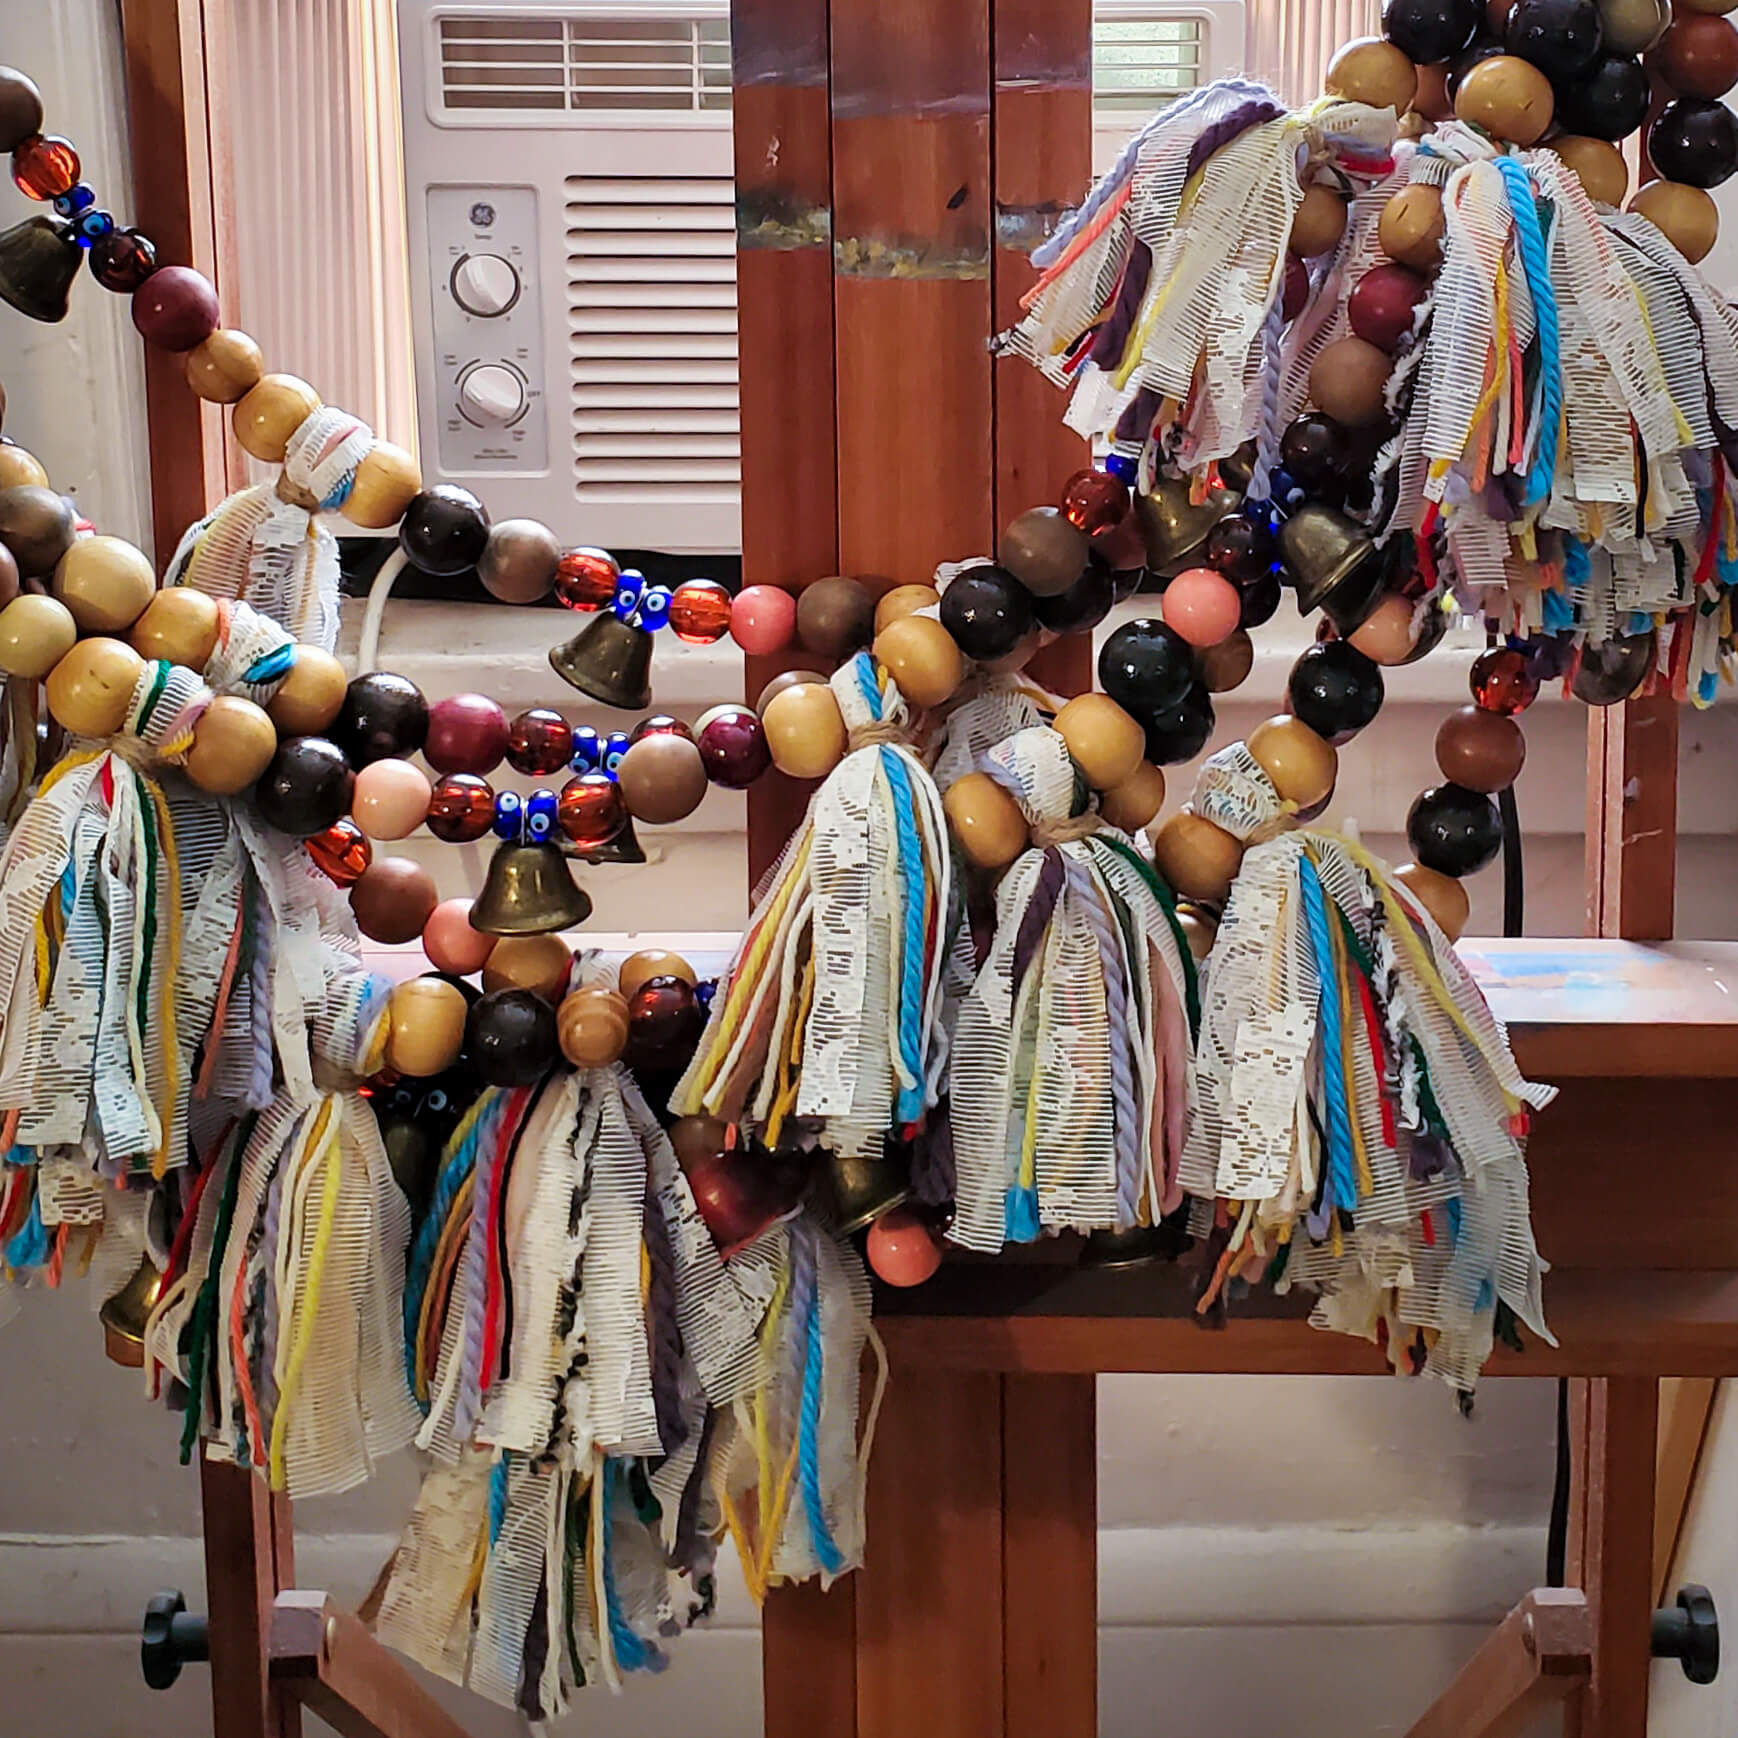
Craft Project: Bead and Tassel Garlands (4.5ft)
Time: About 1.5 – 2 hours per garland, including cutting the fabric strips and making the tassels. I made these almost entirely on breaks at my day job!
Materials: Thrifted yarn, vintage Quaker Net curtain cut into .5″ strips, reclaimed and salvaged wood beads, assorted beads, craft bells, jute cord and rope.
Tip: I cut drinking straws into three sections. I made each tassel with a straw piece going through the middle, instead of a string to hang. This allowed me to thread the jute cord through the straw piece easily and quickly, and then remove it afterward. I wanted the tassels inline with the beads, instead of dangling.
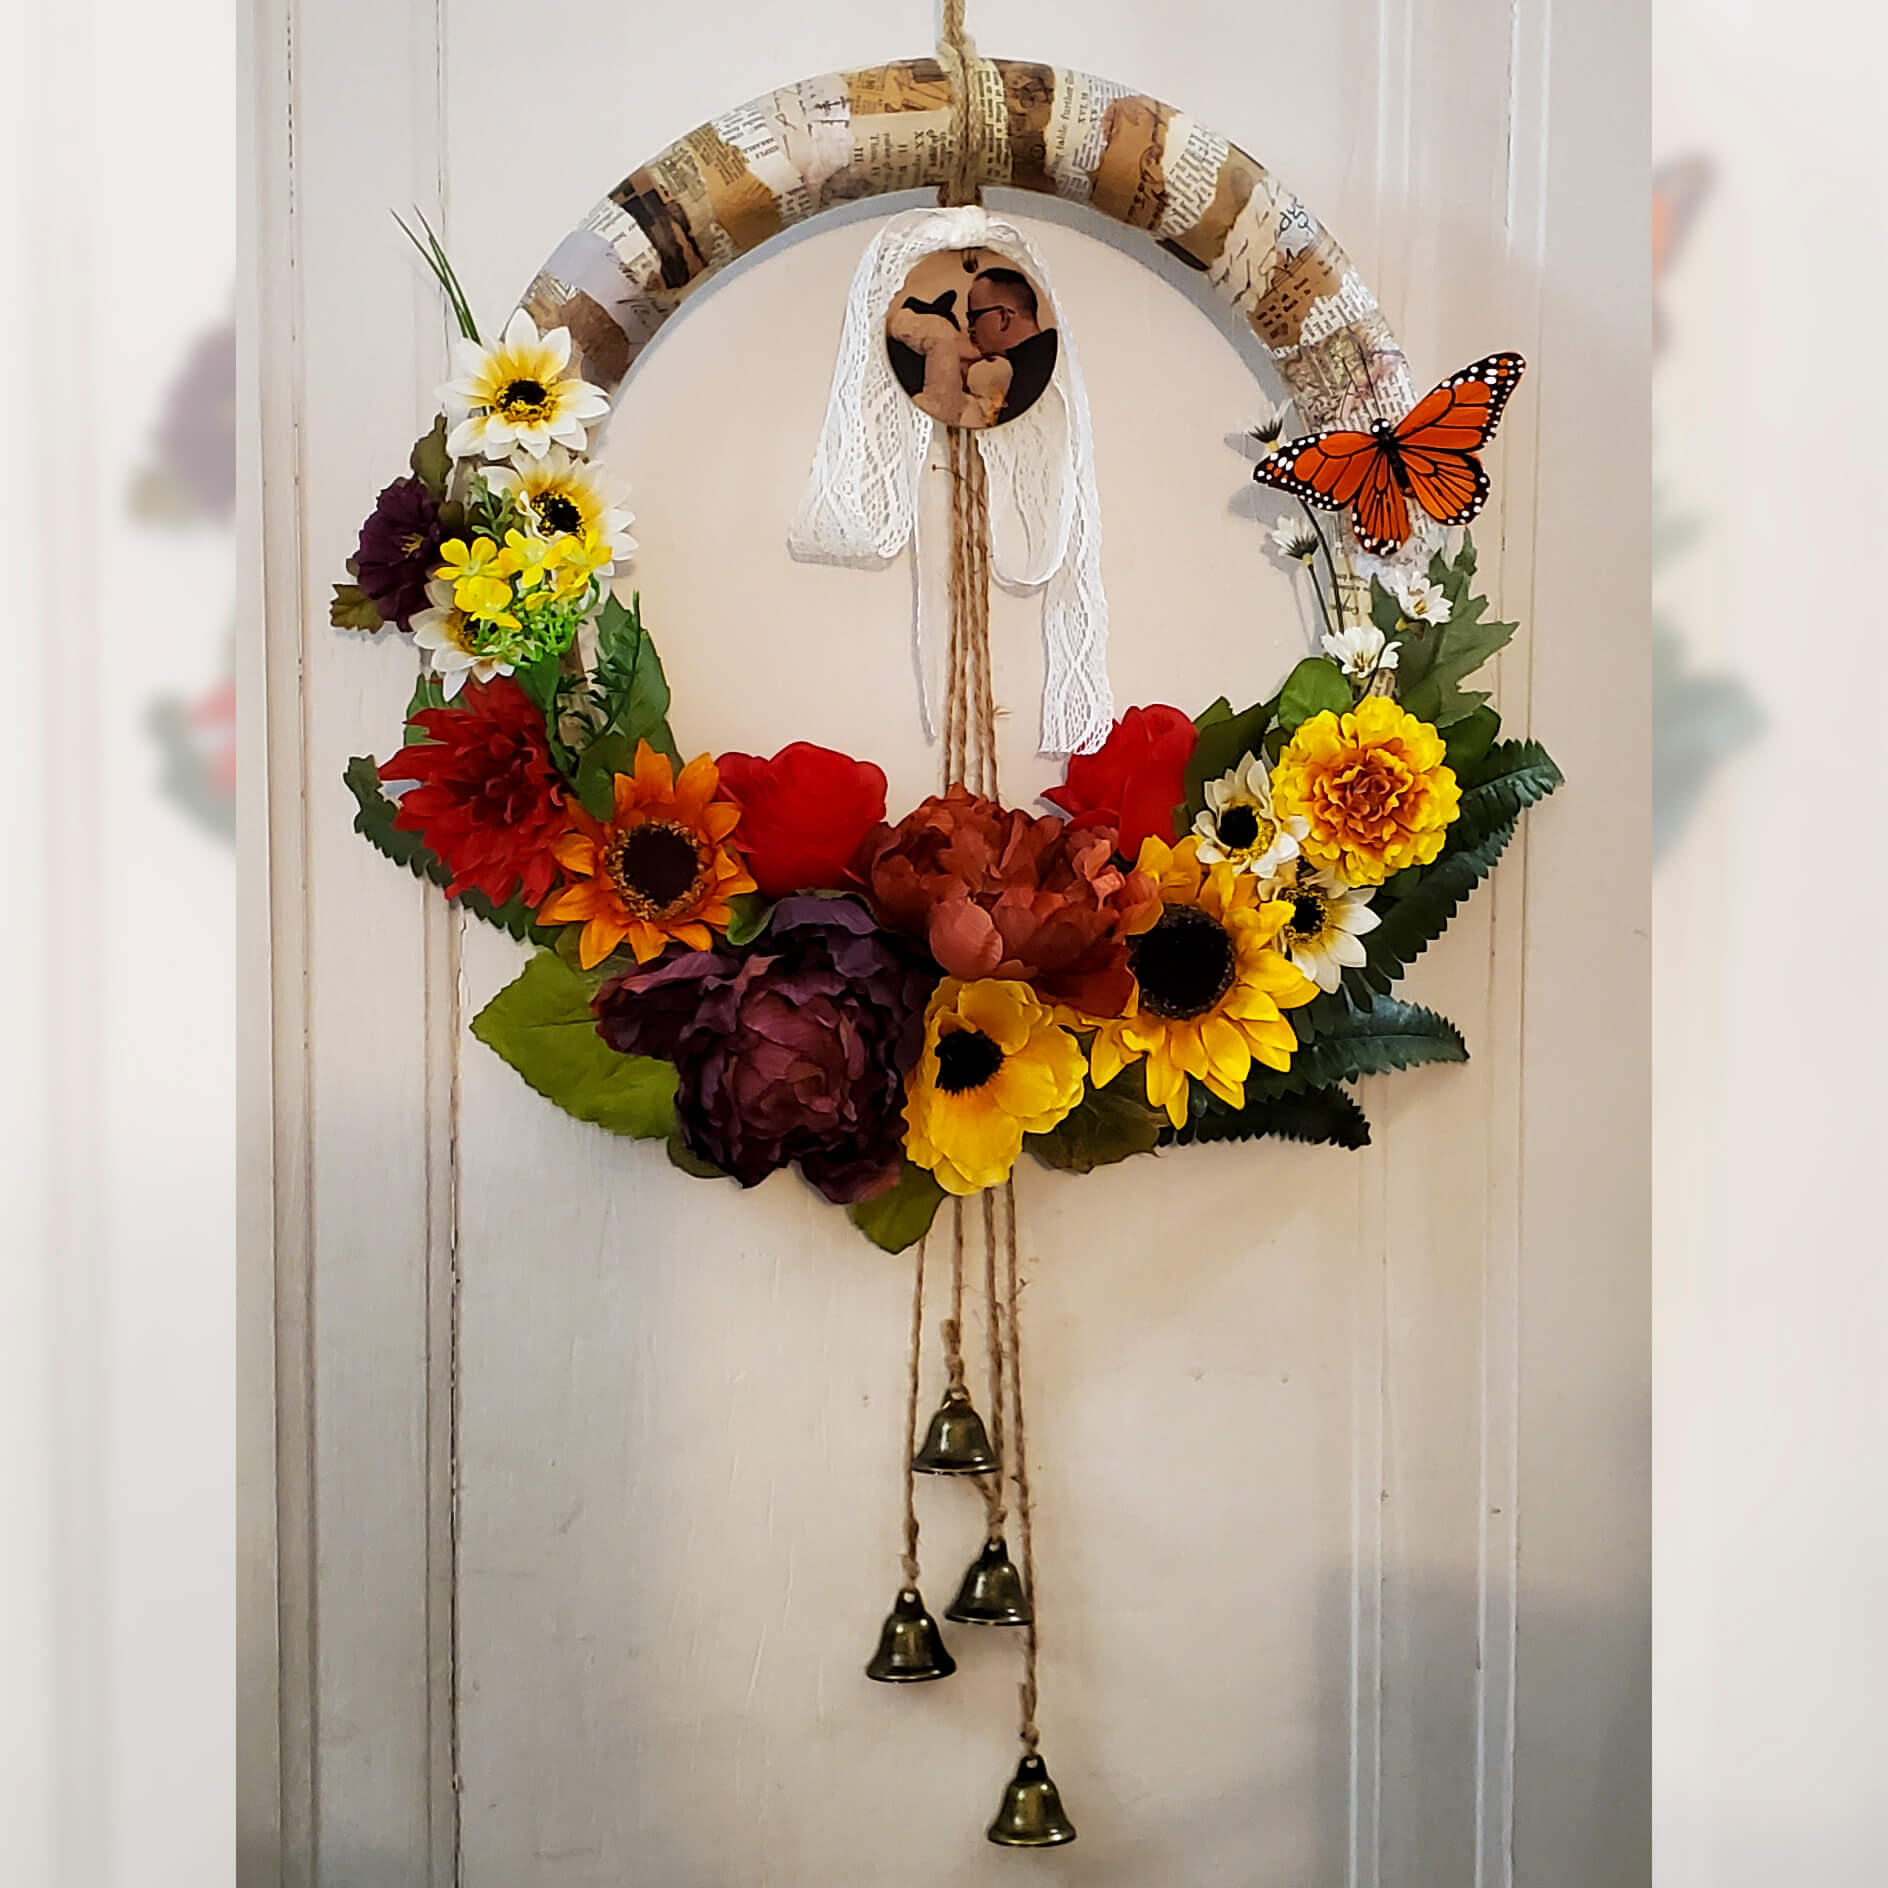
Craft Project: Decoupage Wreaths
Time: About 2 – 3 hours per wreath including tearing the paper strips, decoupage, top coats, and adding the flowers and embellishments.
Materials: Foam wreath forms, old books and scrapbook paper, matte Mod Podge, matte acrylic varnish, donated and scavenged faux flowers, feather butterflies, craft bells, jute cord and rope. Round wood ornament made by Snapfish.
Tips: I made a mixture of 1 part water, 2 parts Mod Podge, and submerged the paper strips in it similar to the method for papier-mâché. This made applying the paper to the curved surface of the wreath much easier. I then applied two separate, additional coats of Mod Podge before the final varnish.
Use a scratch awl to puncture the decoupage layer before inserting flower stems. The flowers and greens are attached with hot glue and greening pins. High-temp hot glue melds together the plastic of the flowers and foam very strongly.
In my opinion, Gorilla brand hot glue sticks are worth the extra cost!
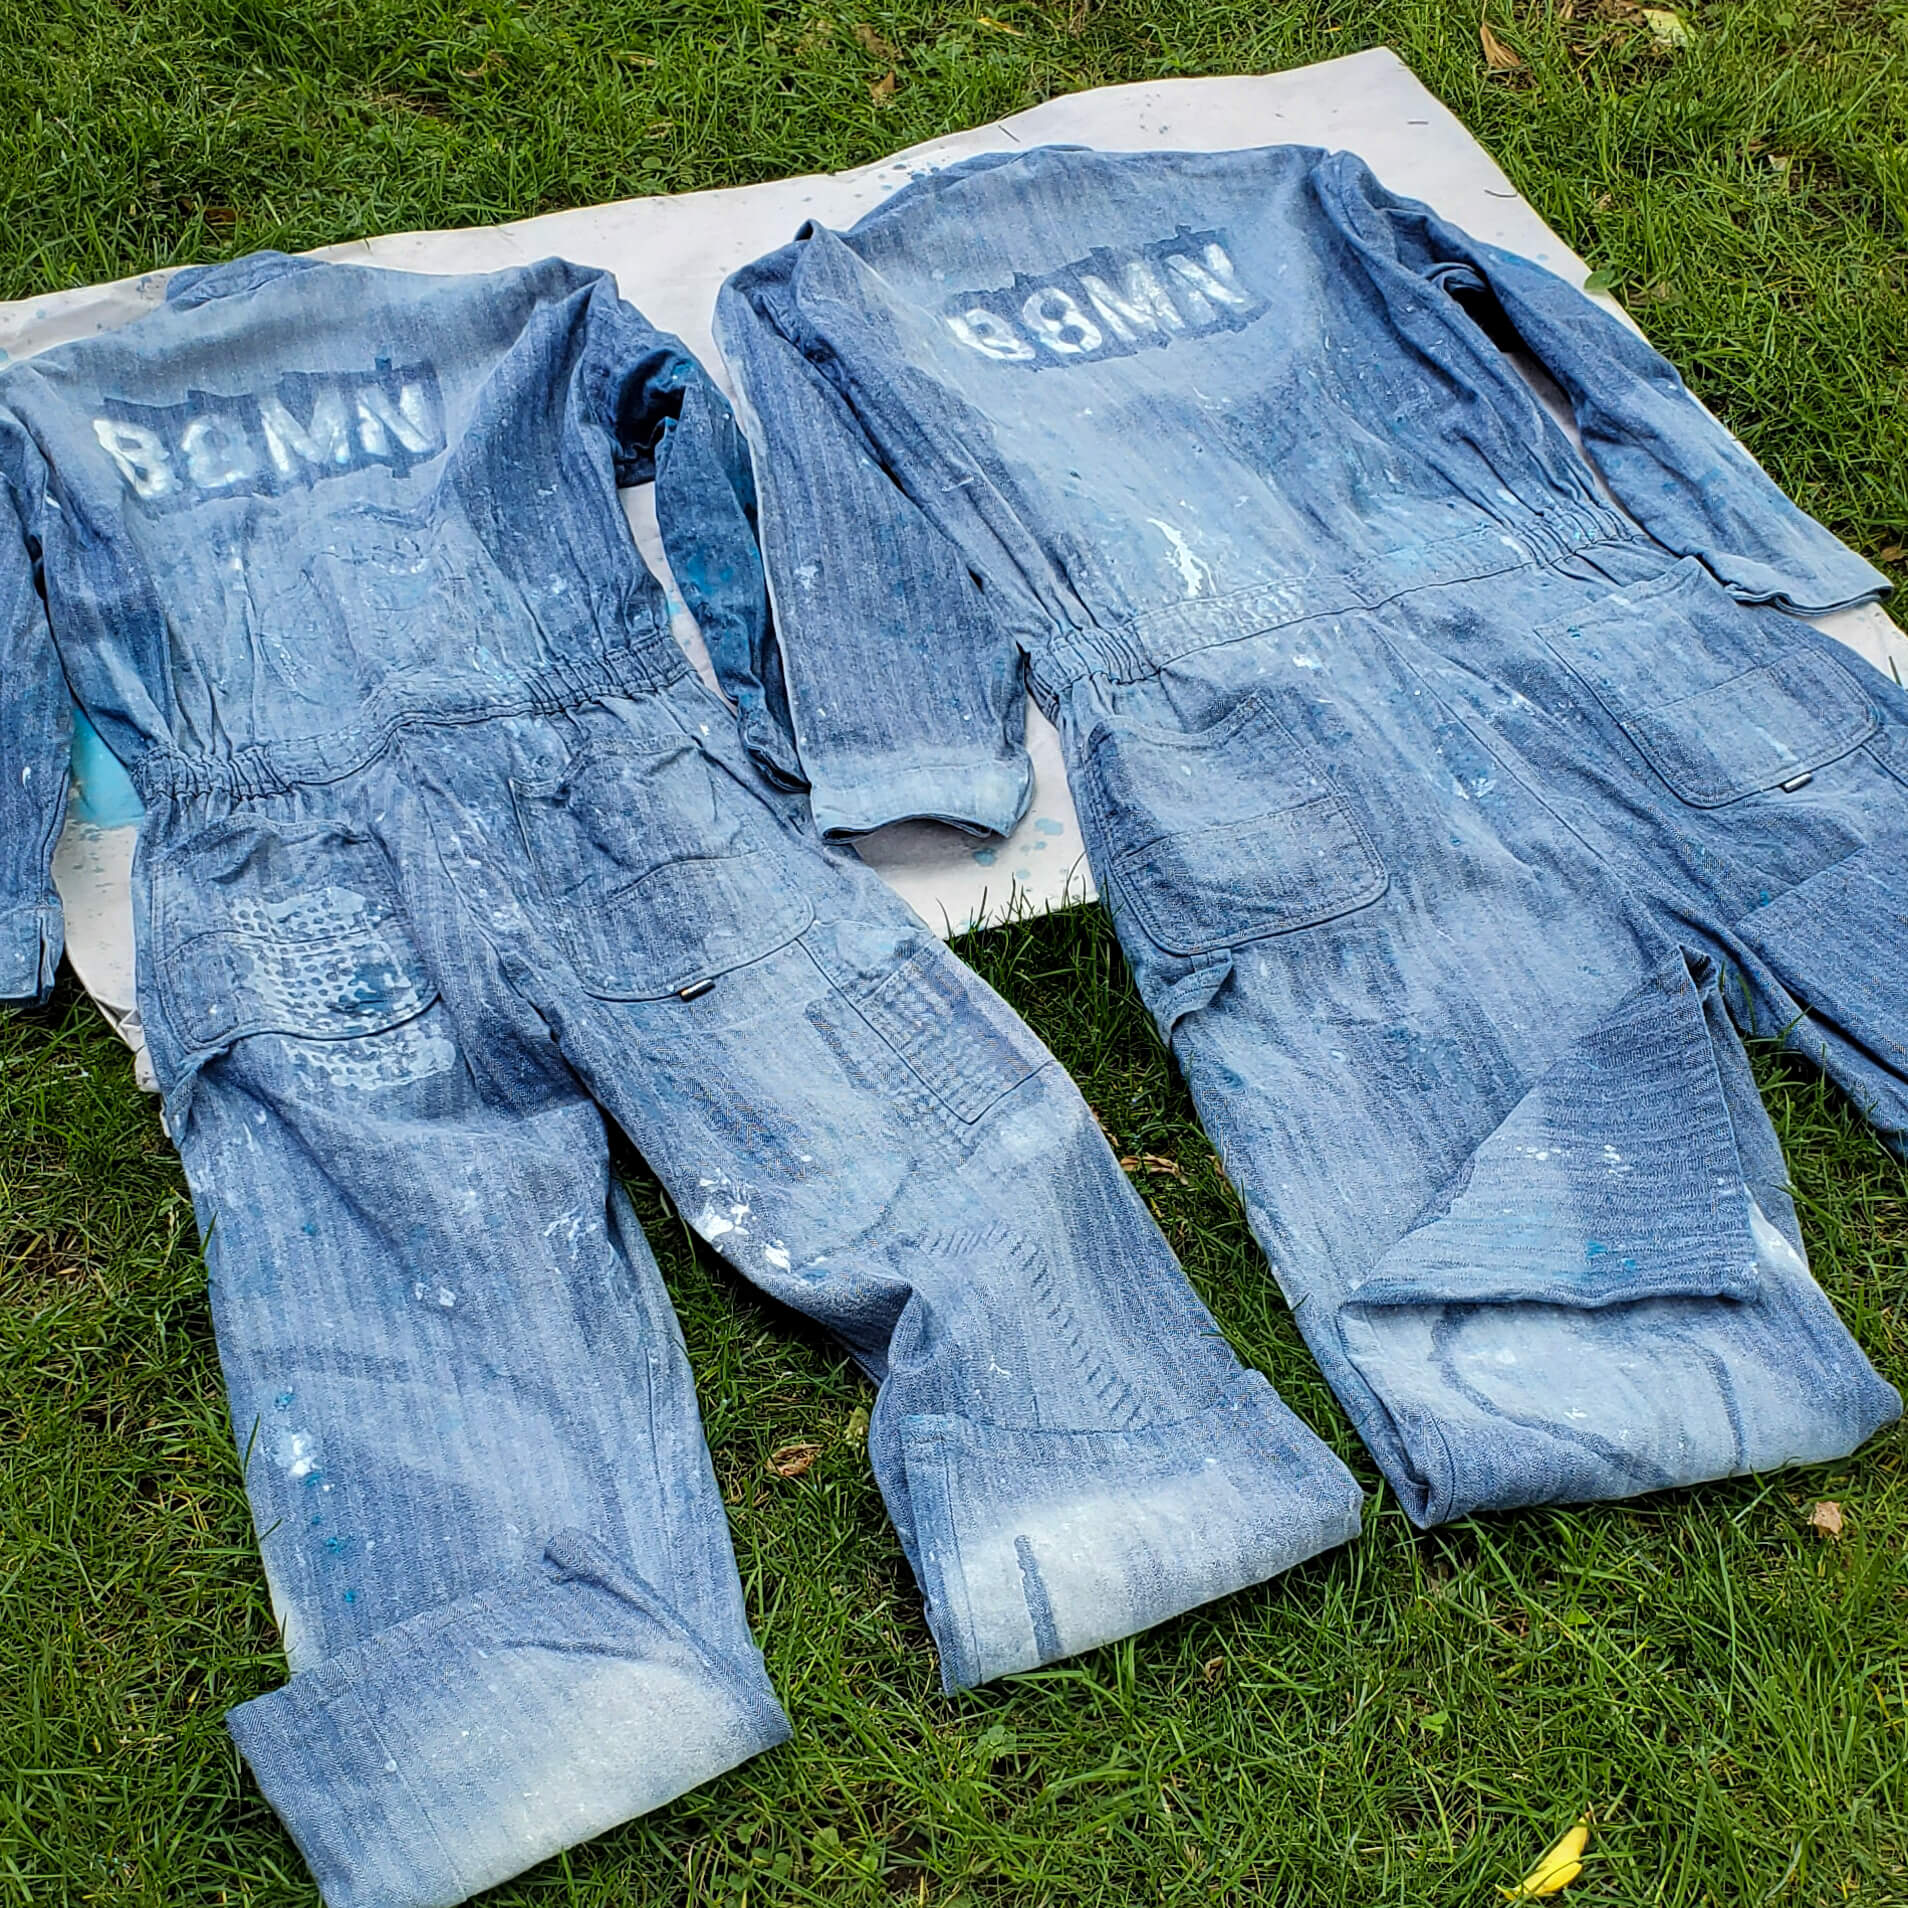
Painted Coveralls
Time: About 3 – 4 hours for letting layers of paint dry between applications.
Materials: Berne Fisher Stripe coveralls, acrylic paint, spray paint. Props to Berne for being the only company offering enough “off the shelf” sizes for tall Dan and smol Jen to have matching suits. They are comfortable and well-made.
Tips: Don’t forget some good an’ stompy boots!
We are looking forward to sharing photos of our event with you, and our many projects to come! Again, if you can, please consider helping us purchase our flowers and food. Click here to view our GoFundMe. Thank you!


