Cigar Jewelry Presentation Box Tutorial
In this post you will find a step-by-step photo tutorial on how to make an upcycled cigar jewelry presentation box of my own original design.
It is not mandatory to use a cigar box; any flat, shallow box of similar size and proportions will do. Cigar boxes just happen to be the most readily available, and are sometimes valuable works of art in their own right. Vintage cigar boxes are wonderful, since they have had time to collect some “character” with age.
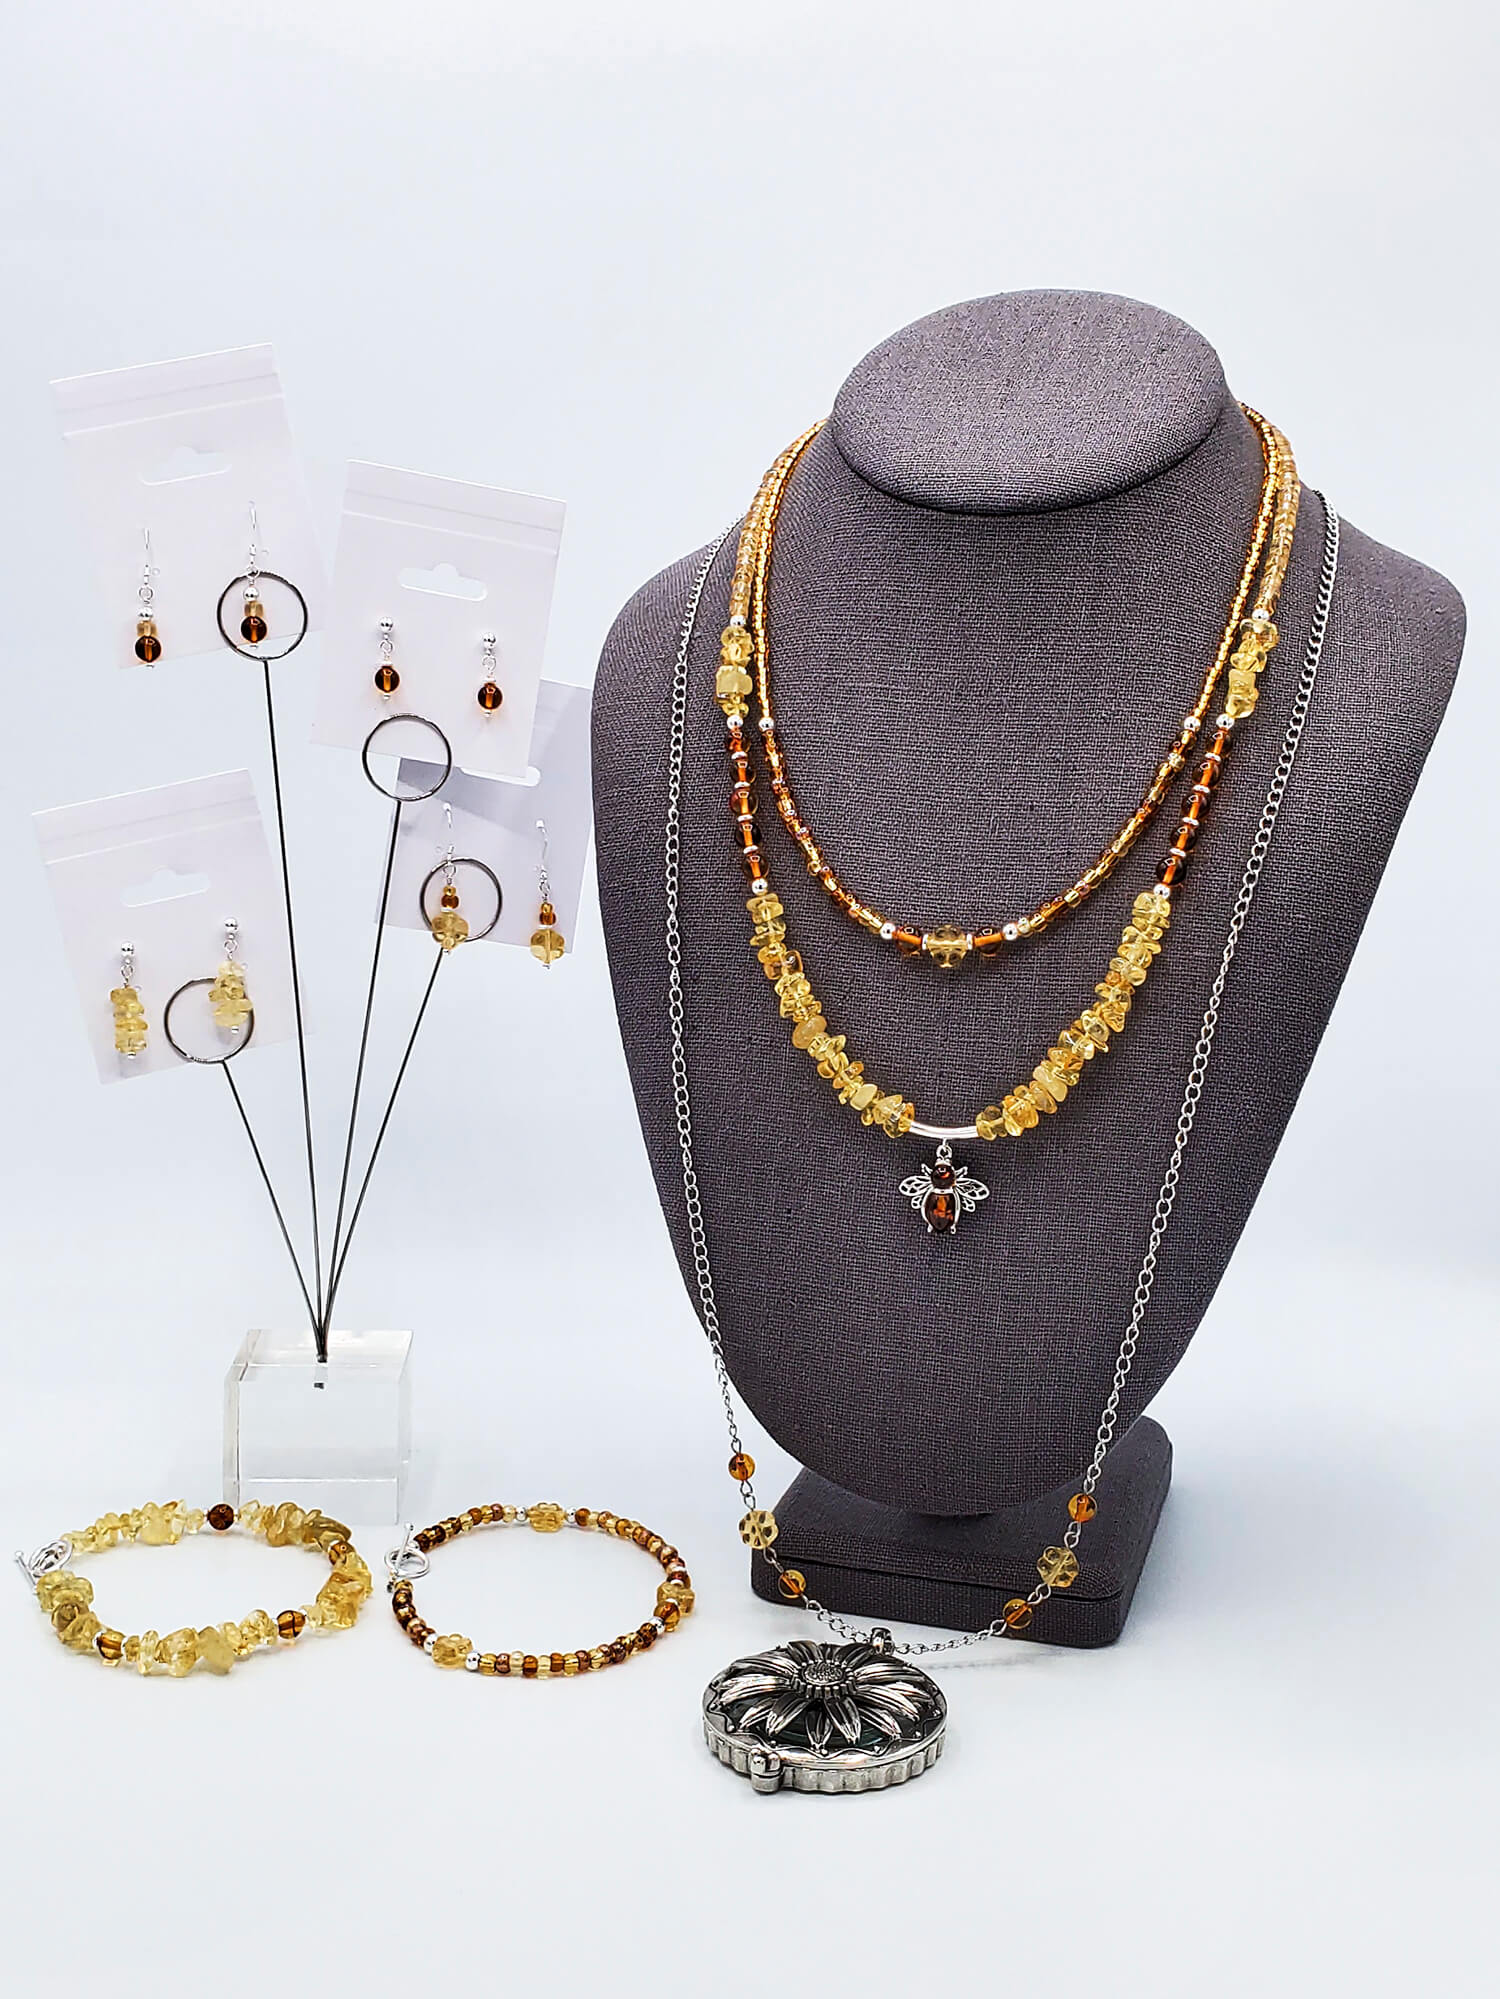
Beading and jewelry design is an interest I picked up in early 2021 with the original intention of exclusively making custom pieces for myself. However, my interest quickly grew to creating custom pieces for family and friends. My “mix-and-match” themed jewelry sets typically include a combination of necklaces, bracelets, and earrings all designed to coordinate with each other.
“Lux Vitae” Mix-and-Match Jewelry Set (Amber and Citrine, Czech Glass)
Recently, I started searching for a way to package my jewelry sets that would preserve the “wow” factor of revealing all the pieces at once. Due to the number of pieces, I eventually determined that I would have to create something myself. This tutorial is the result: a simple design that can accommodate many kinds of jewelry, and can be easily adapted and customized for your own needs.
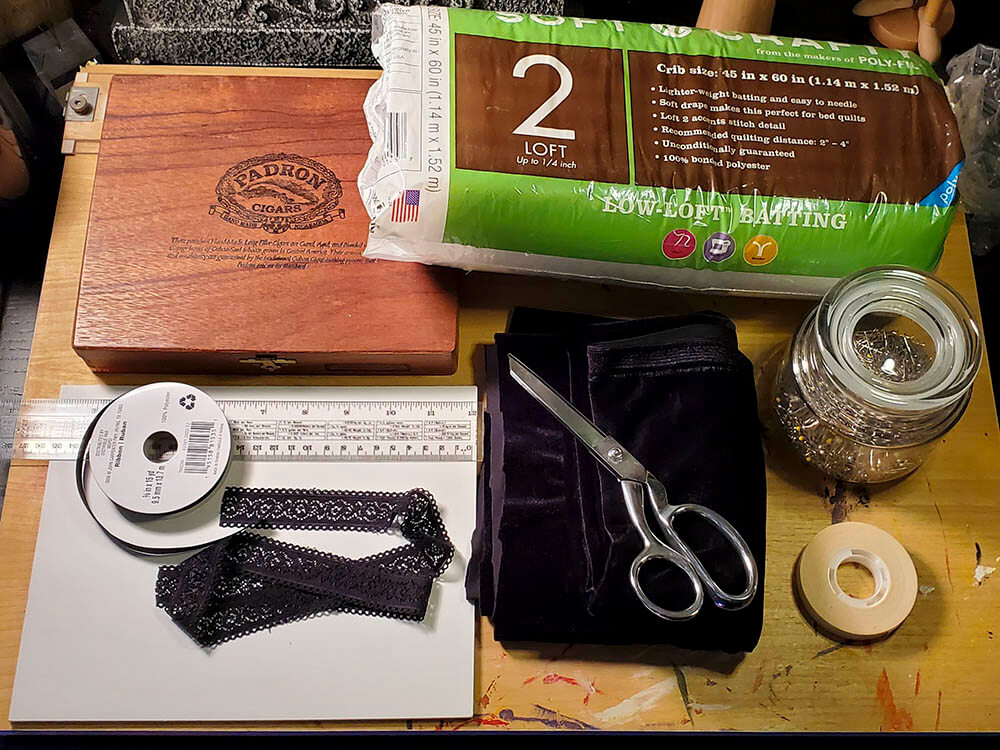
Step One: Gather the Materials
To make your cigar jewelry presentation box, you will need:
a cigar or similar flat, shallow box
3/16″ thick foamcore board slightly larger than the inside of your box
a piece of low-loft batting slightly larger than the inside of your box
approximately 1/2 yard of velvet or similar thick, soft fabric*
enough crochet or stretch lace to wrap around your board
12″ – 24″ of matching 5/8″ satin ribbon
sewing machine or ability to hand-sew
scissors, sewing pins, T-pins
double-stick tape
*I cannot recall exactly how much velvet I had to start because I bought it for something else that I never made. The amount needed is easy to eyeball!
Step Two: Cut the Board
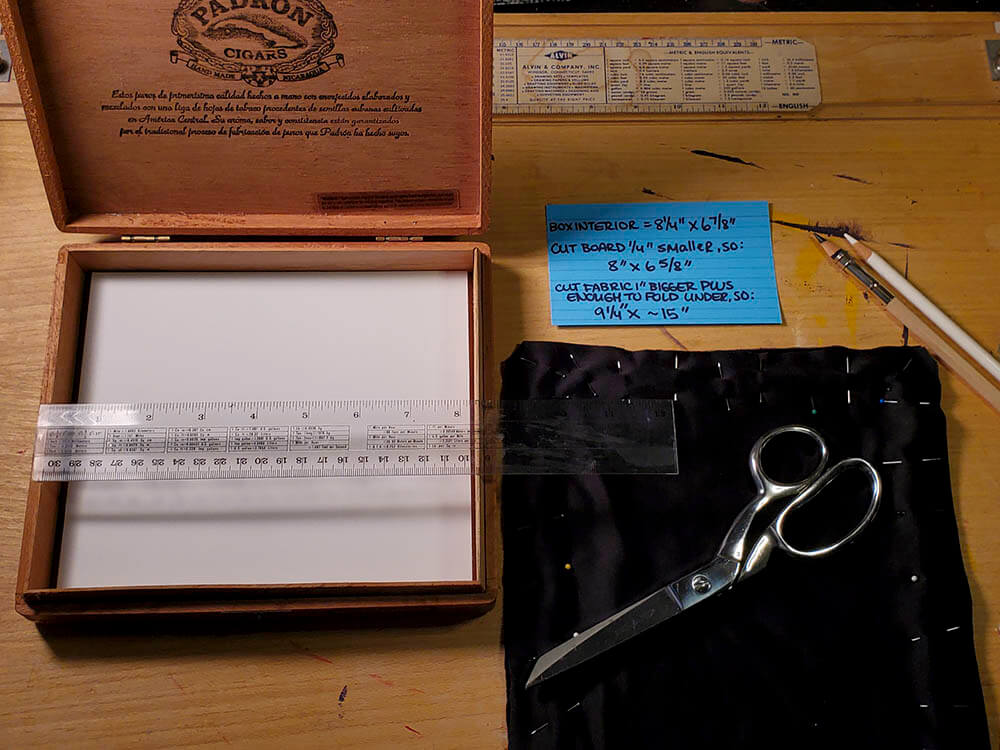
Measure the inside of your box, and note the size on a scrap of paper for further reference. I included my measurements to help you understand what I am doing, but use your own measurements. First, you want your foamcore board trimmed 1/4″ smaller than the dimensions of the inside of your box.
The board must be cut 1/4″ smaller so that it still fits with fabric wrapped around it. A frame shop can cut foamcore board to size for you, if you cannot yourself.
Step Three: Cut and Pin the Fabric
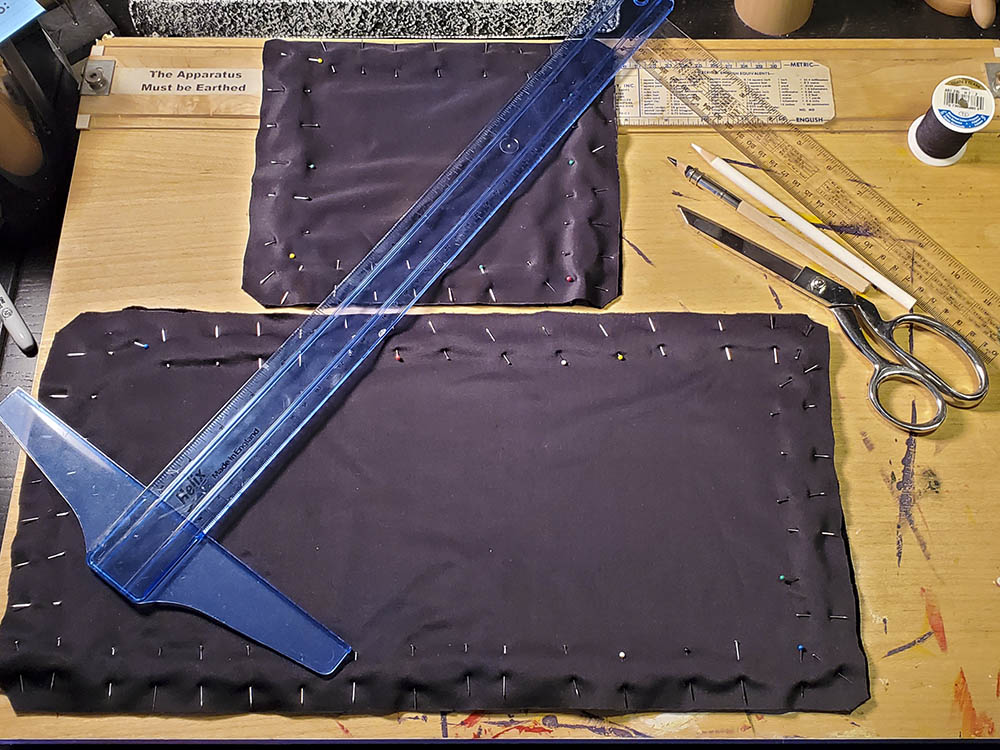
Next, we are going to trim the fabric for the jewelry board 1″ larger than the dimensions of the inside of the box in width, and slightly more than double the length. The extra fabric is going to fold underneath the jewelry board to protect chains wrapped from the front or anything else you wish to tuck away there.
To make the cover piece, which will help protect your jewelry and keep it in place, cut the fabric 1″ larger than the dimensions of the inside of your box all around.
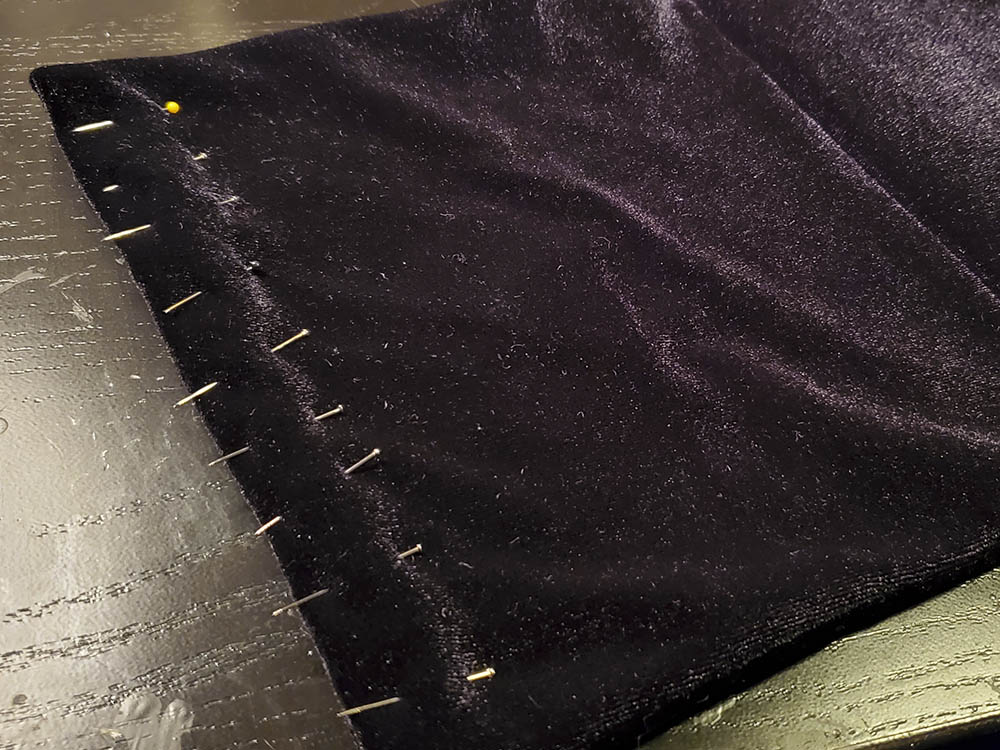
Velvet tends to slip while cutting, so I pinned each side as I went.
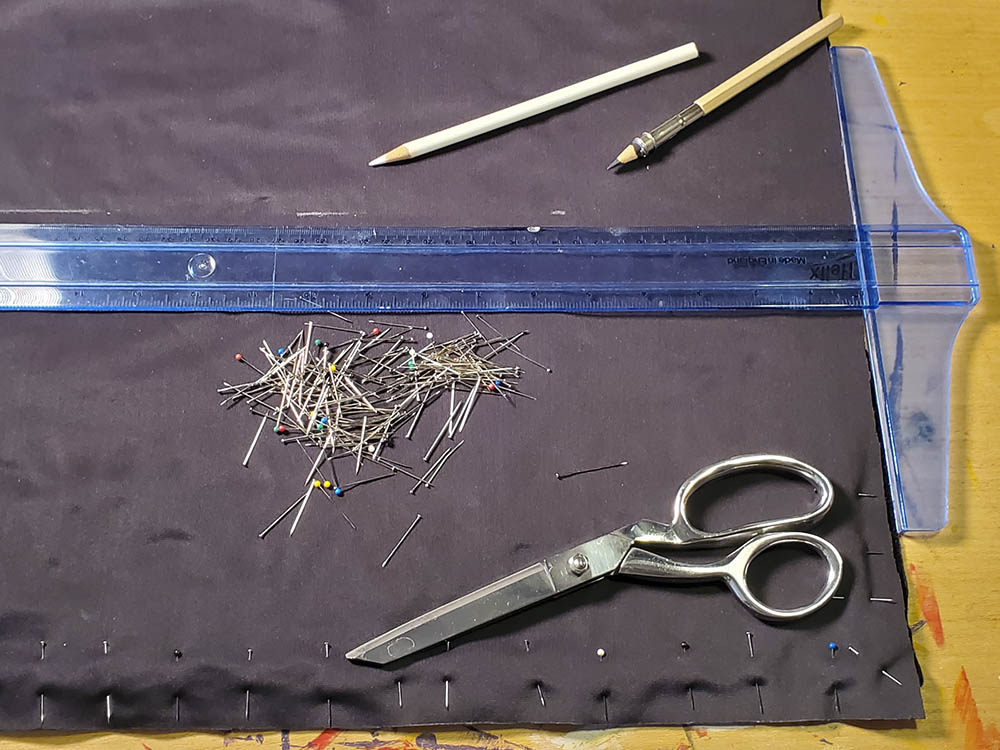
When you finish pinning, notch the corners to reduce bulk later.
Step Four: Cut and Pin the Jewelry Loops
Decide which end of the jewelry board fabric is the “top,” unpin it, then fold it toward you, as shown in the photo. Cut four small pieces of ribbon a few inches long. These will form the loops that secure your bracelets and necklaces.
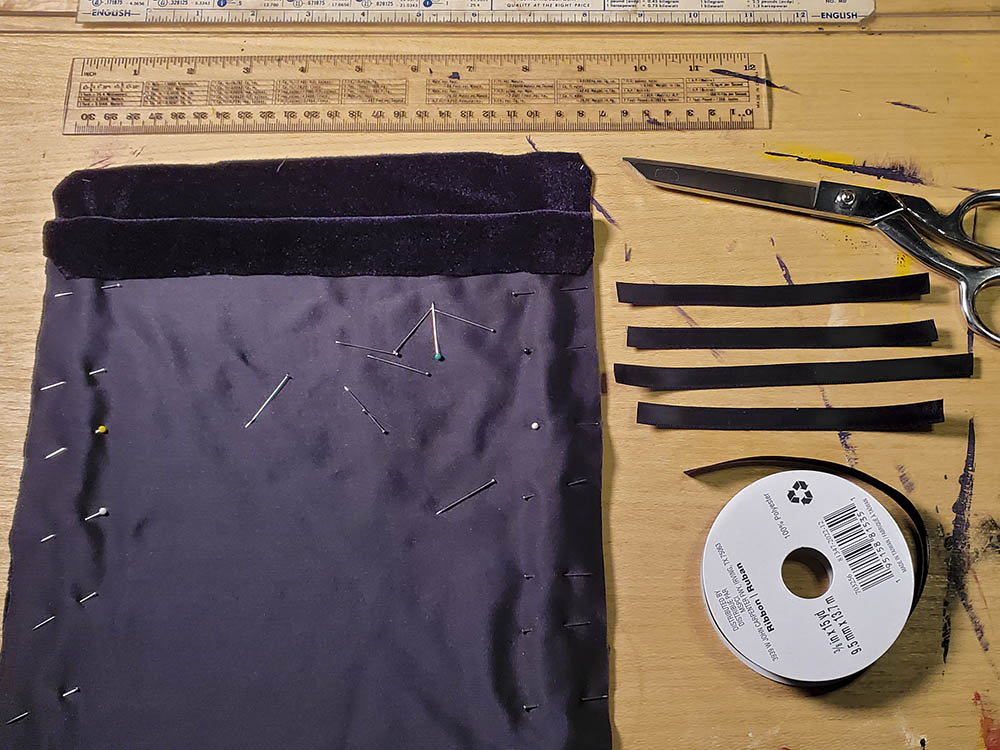
Pin the ribbon loops near the end to make them easier to work with, and then space them across the top of the jewelry board fabric. How much ribbon you put inside the fabric will determine the size of your loop. I used about 1″ long loops, but for chunkier jewelry you may want to make them larger.
We will be making a 1/2″ hem that is going to eat up some of the loop!
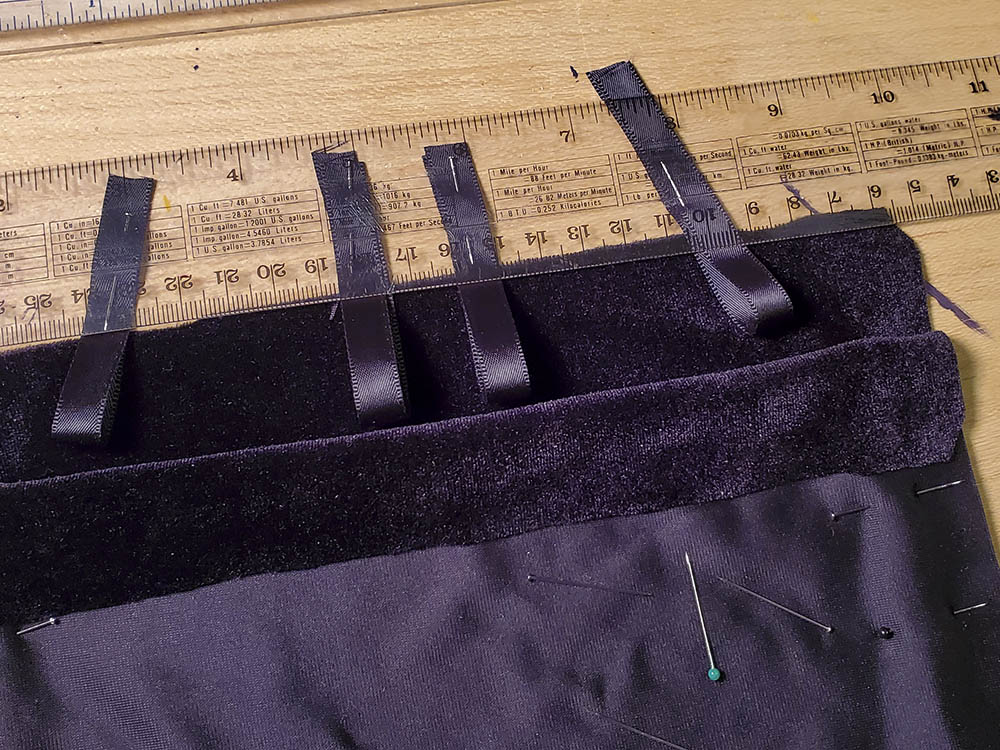
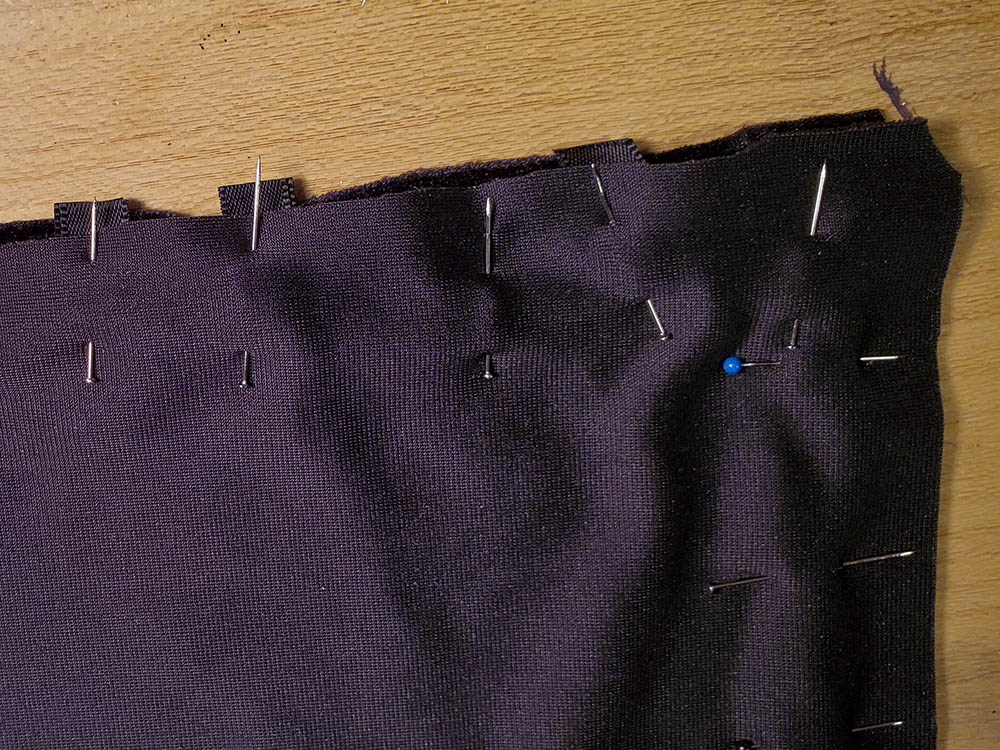
Fold the top of the jewelry board fabric back up over the loops. Pin everything into place, taking care to pin the loops inside the fabric so they do not move while you are sewing. Trim off any extra ribbon leftover outside the fabric.
Step Five: Sew the Fabrics
Sew the cover piece first, as it is almost finished at this stage. Make a 1/2″ hem all the way around, except for a 1″ break in the stitching. When you have finished hemming, turn the fabric right-side-out through the 1″ opening, and then pin it all the way around again to keep the two layers flat and smooth.
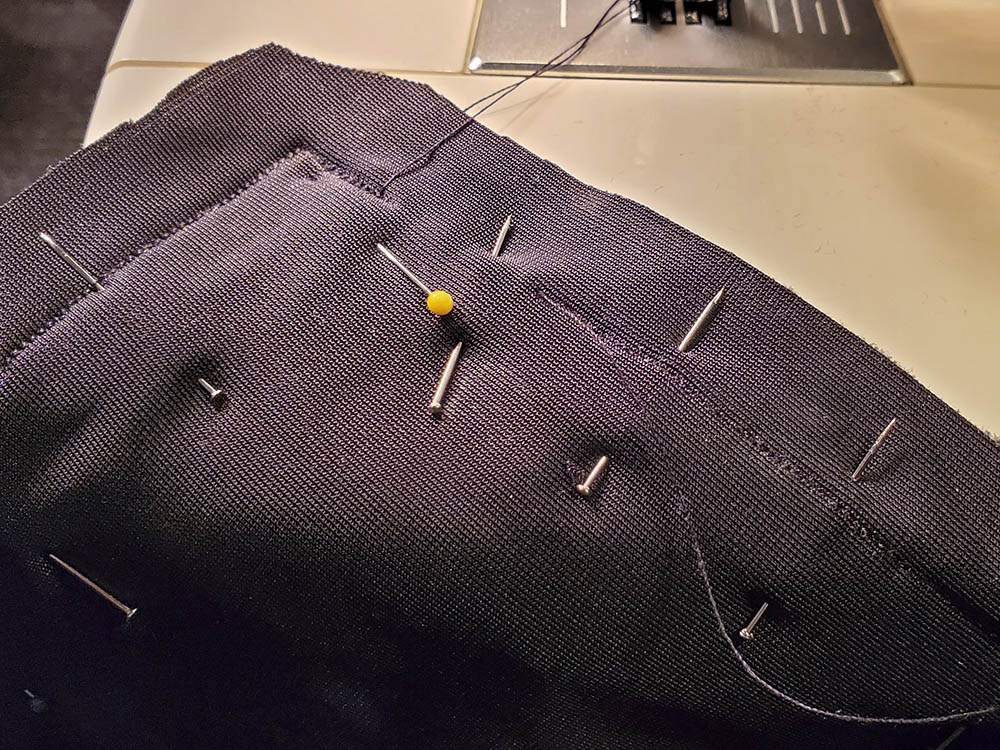
Sew around the cover piece again, about 1/2″ in, to give it a finished edge.
The cover piece is all done! You can set that aside for now.
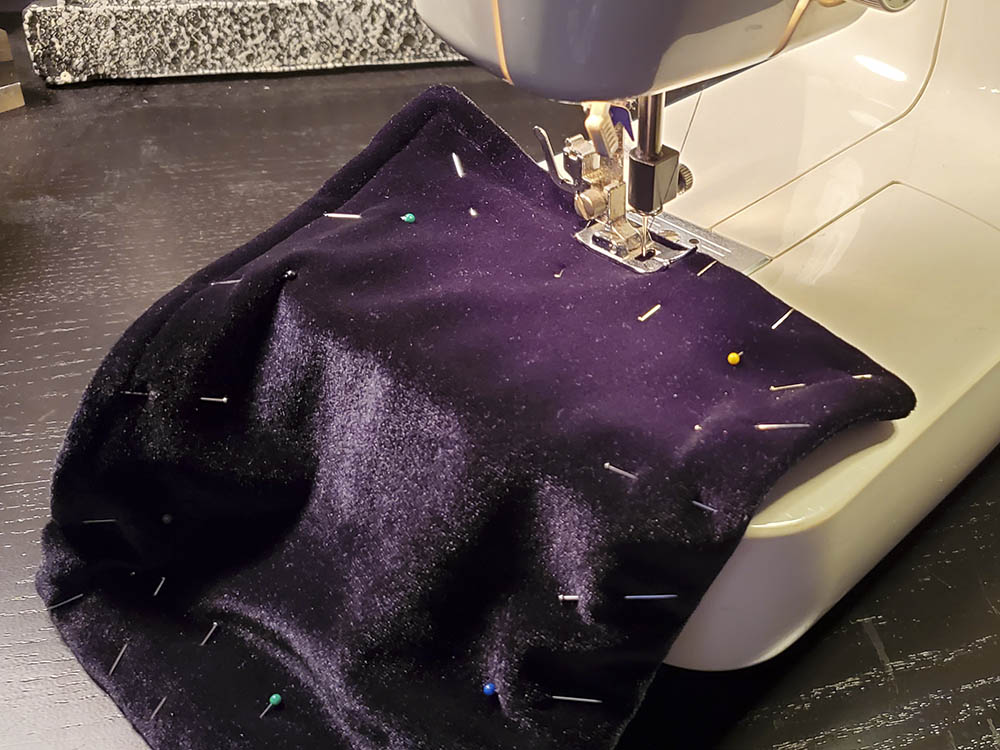
For the jewelry board fabric, first sew a 1/2″ hem across the top, where your ribbon loops from Step Four are pinned. This is optional, but I triple-stitched the top hem where the ribbon loops are held to reinforce it. Then sew a 1/2″ hem up the two sides. Leave the bottom of the jewelry board fabric completely open!
Turn your jewelry board fabric right-side-out, and tidy your ribbon loops.
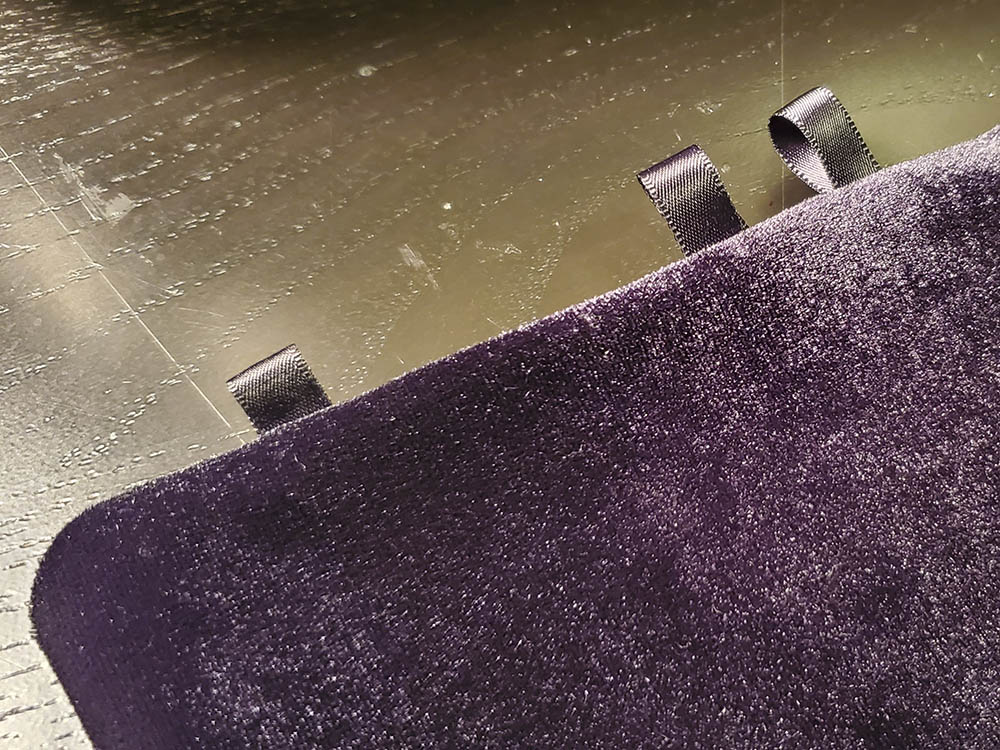
Make sure your board fits into the jewelry board fabric. It should fill, but not stretch, the fabric. If you have to force it, then trim down your board a little, or cut a new piece of board. There must be room left for the low-loft batting.
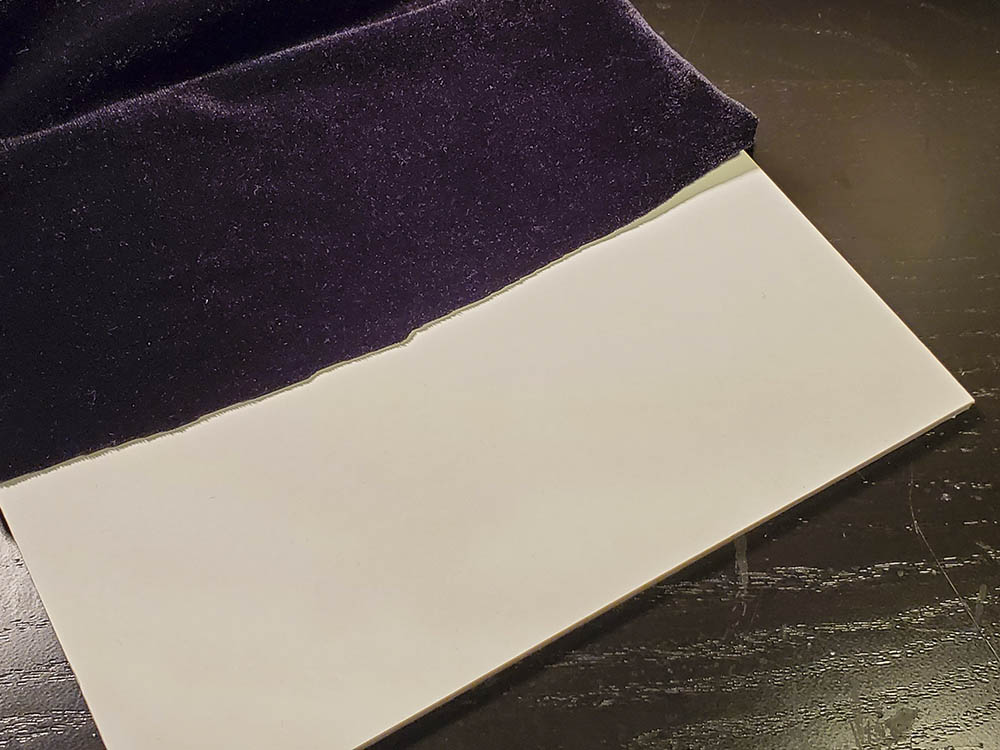
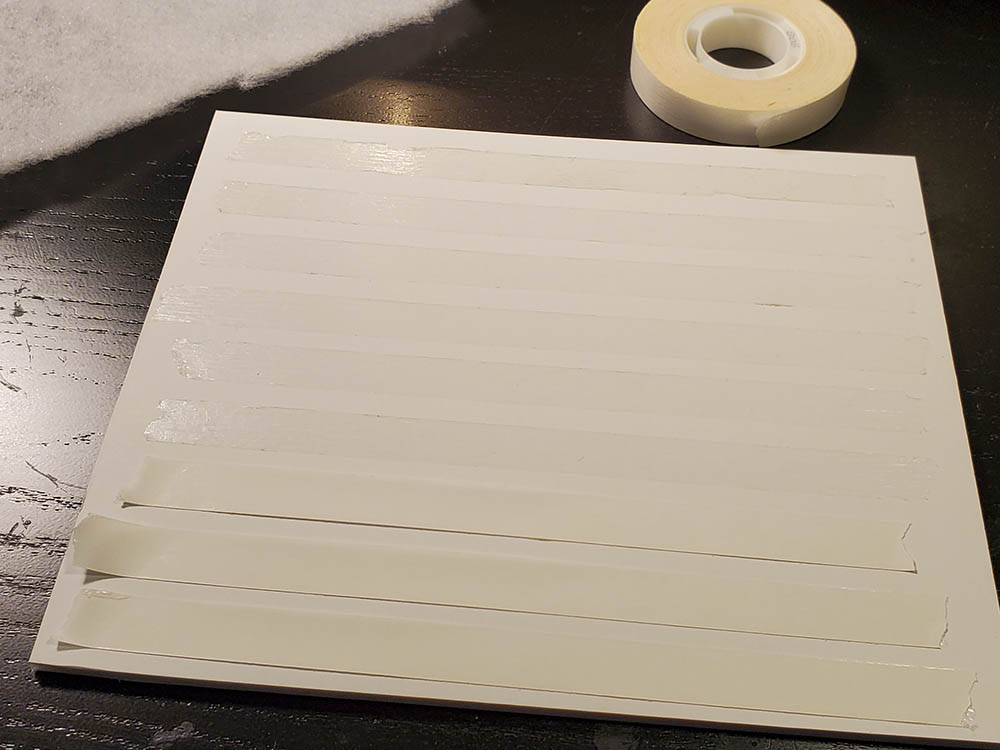
After confirming that your board is the correct size, cover one side with several strips of double-stick tape. I used acid-free adhesive-transfer tape, but any high-tack permanent tape will do. Lay the board, tape-side-down, on top of the low-loft batting, and then press it firmly to fix the batting into place.
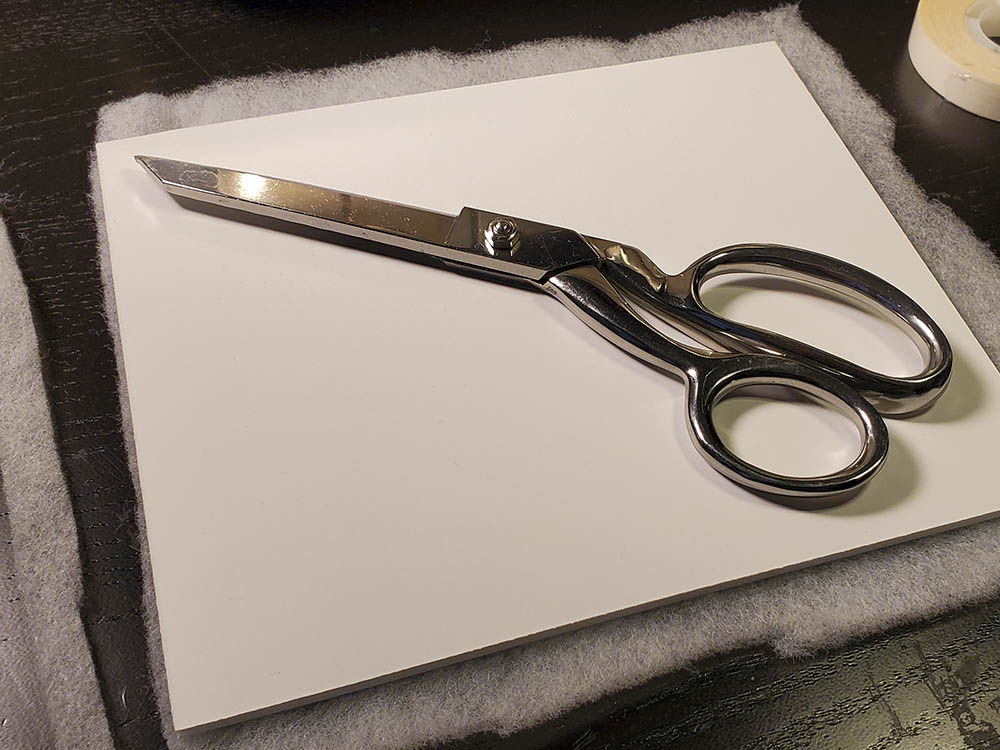
Trim the low-loft batting to the size of the board. It does not have to be perfect.
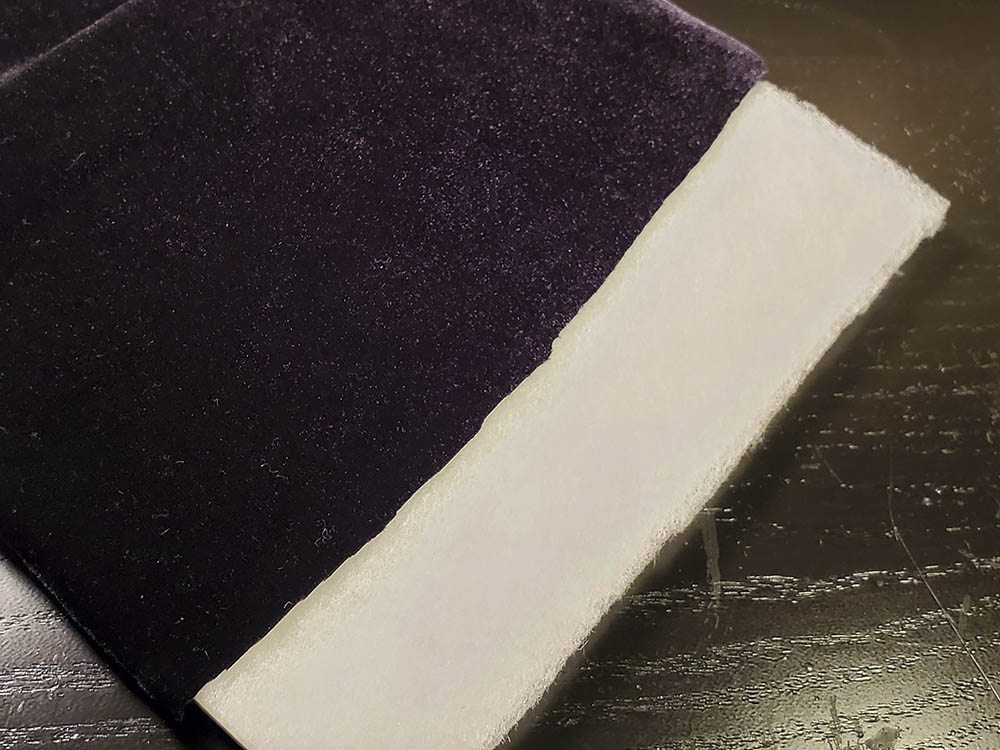
Choose which side of the jewelry board fabric is the front, and insert your board with the low-loft batting facing up. Slide the board all the way up to the top edge with the ribbon loops. Flatten out any bunched-up batting at the top corners with your fingers. This will give your jewelry board a professional quilted look when completed, and provide additional protection for your jewelry.
With your board in place, pin the jewelry board fabric together underneath it.
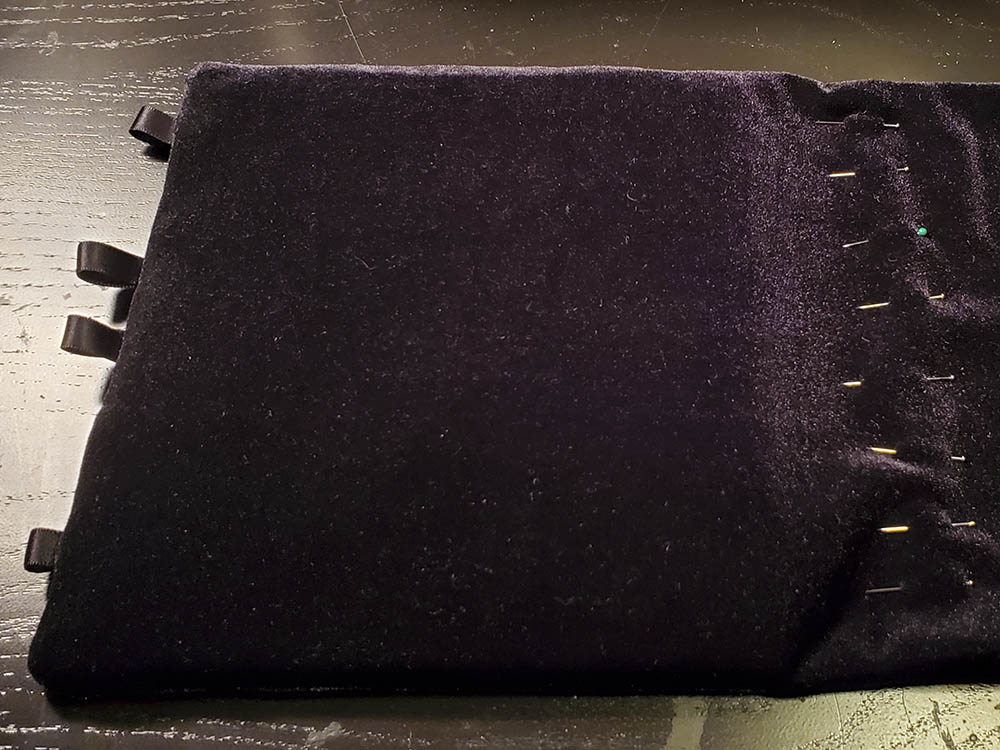
Sew a stitch along the bottom of your board as closely as possible.
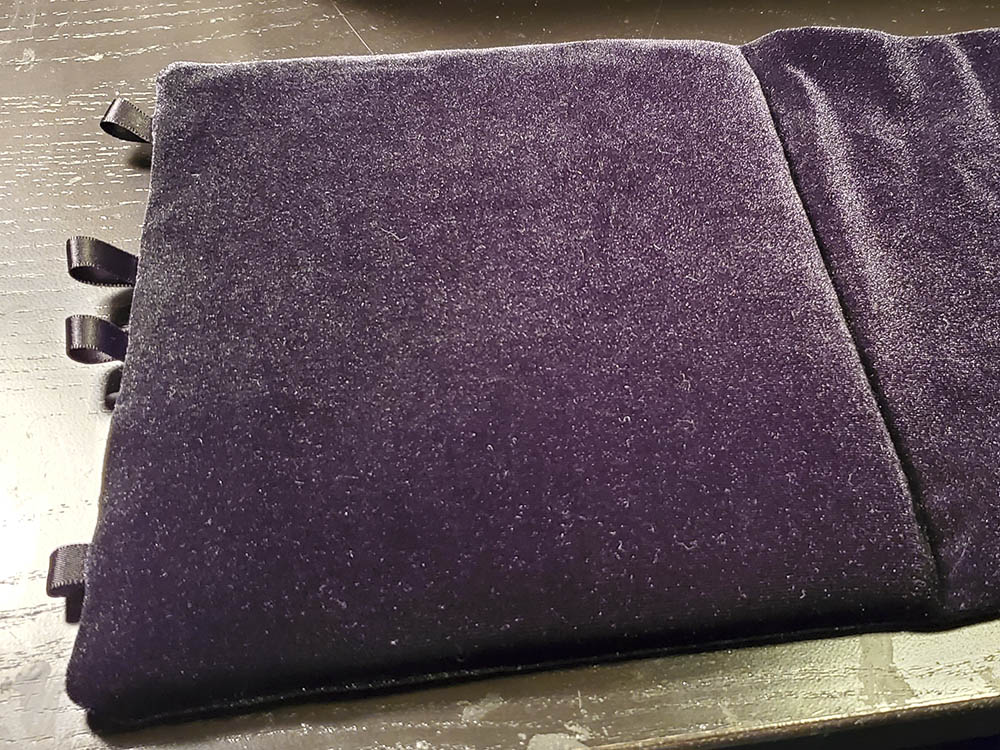
Fold the remaining fabric underneath your jewelry board. This is how the jewelry board will lay inside your cigar box. Trim any excess away as shown.
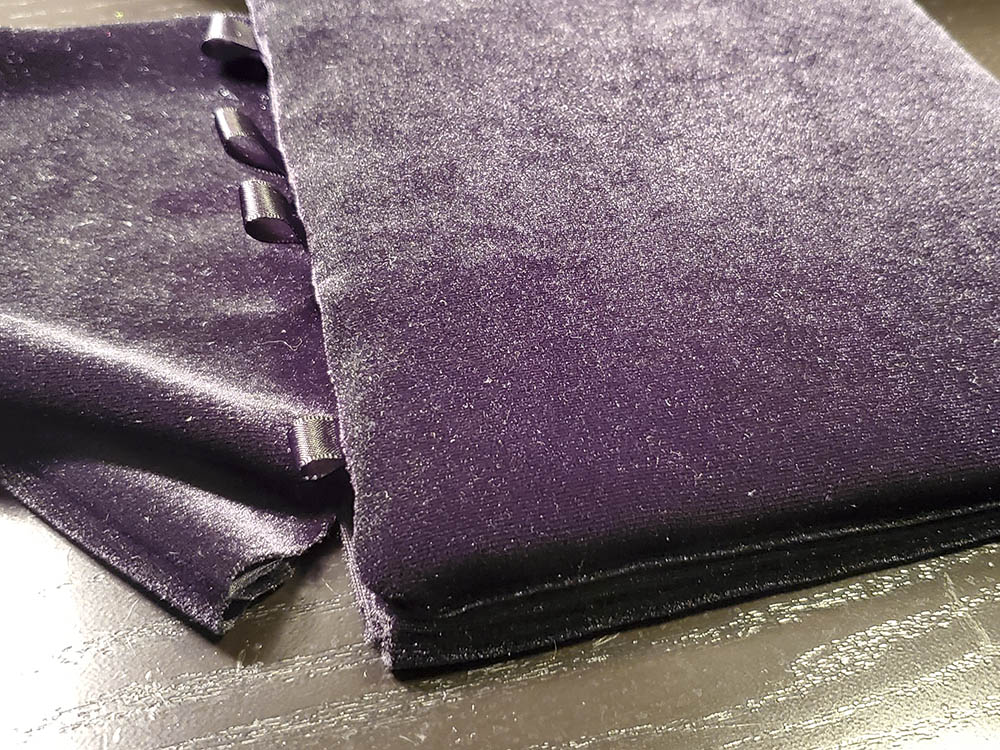
Turn in the unfinished bottom edge enough for a 1/2″ hem, pin, and then sew across in the same way that you finished the edges of the cover piece.
Step Six: Finishing Touches
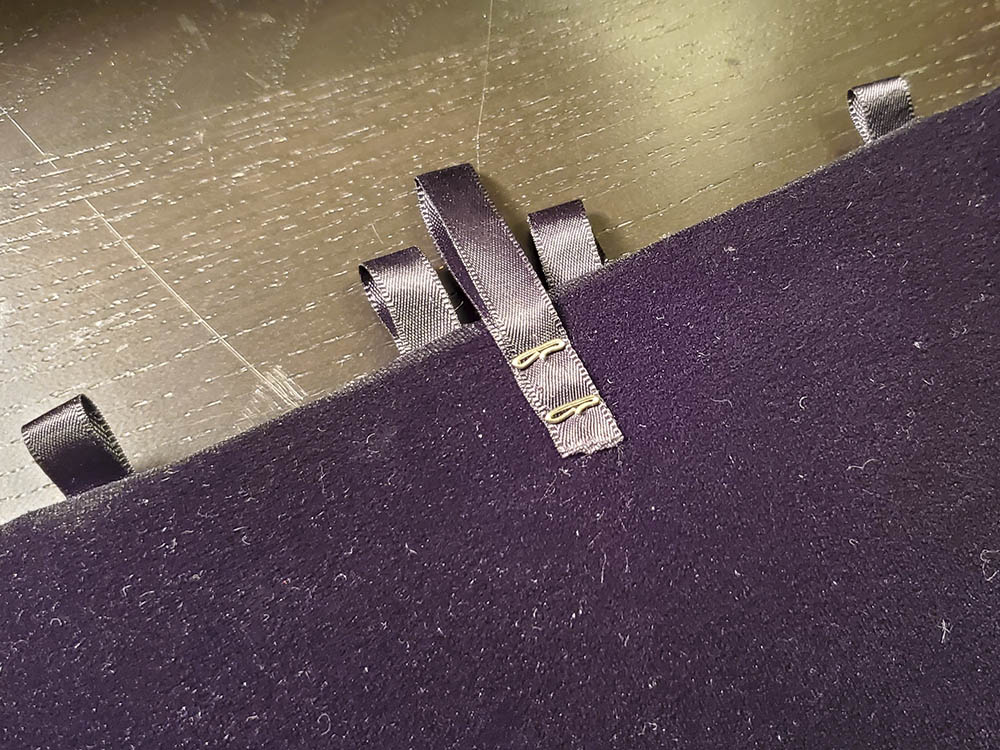
Cut a large ribbon loop that will function as a handle or tab for lifting up the jewelry board out of your cigar box. Attach it securely to the back of the jewelry board near the top. I used two T-pins sharply-angled into the foamcore board. This causes the force/stress to be directed onto your board, not the fabric.
Failure to secure this loop to your board will result in holes or rips.
Wrap your crochet or stretch lace around the jewelry board and pin. It should be snug enough to stay in place, but not so tight that it digs into the padding.
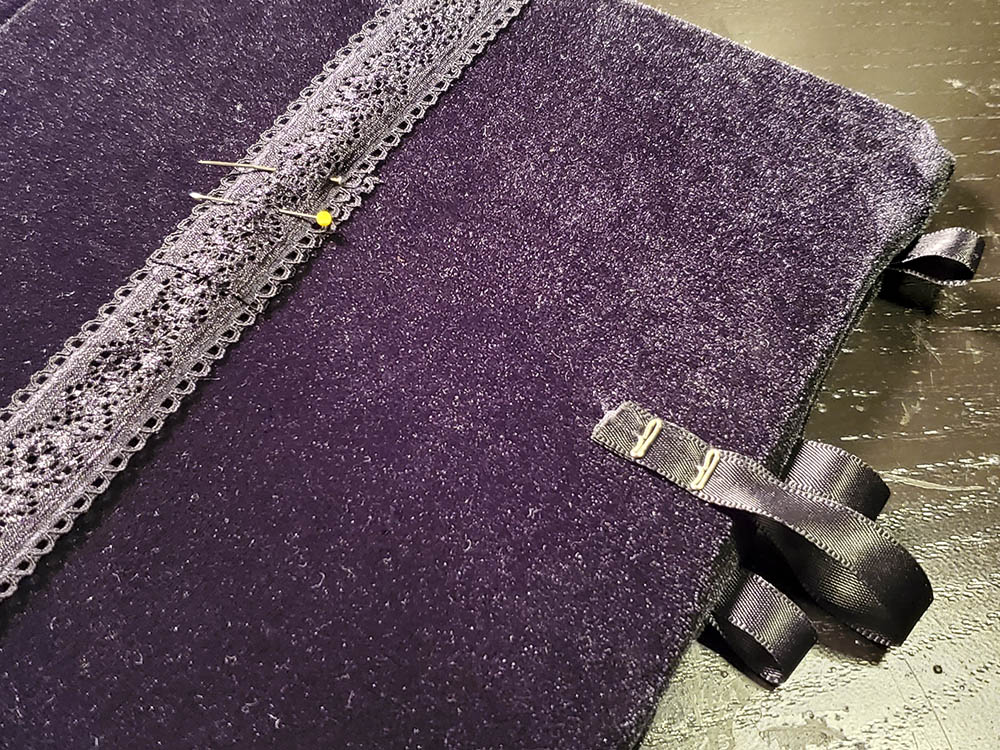
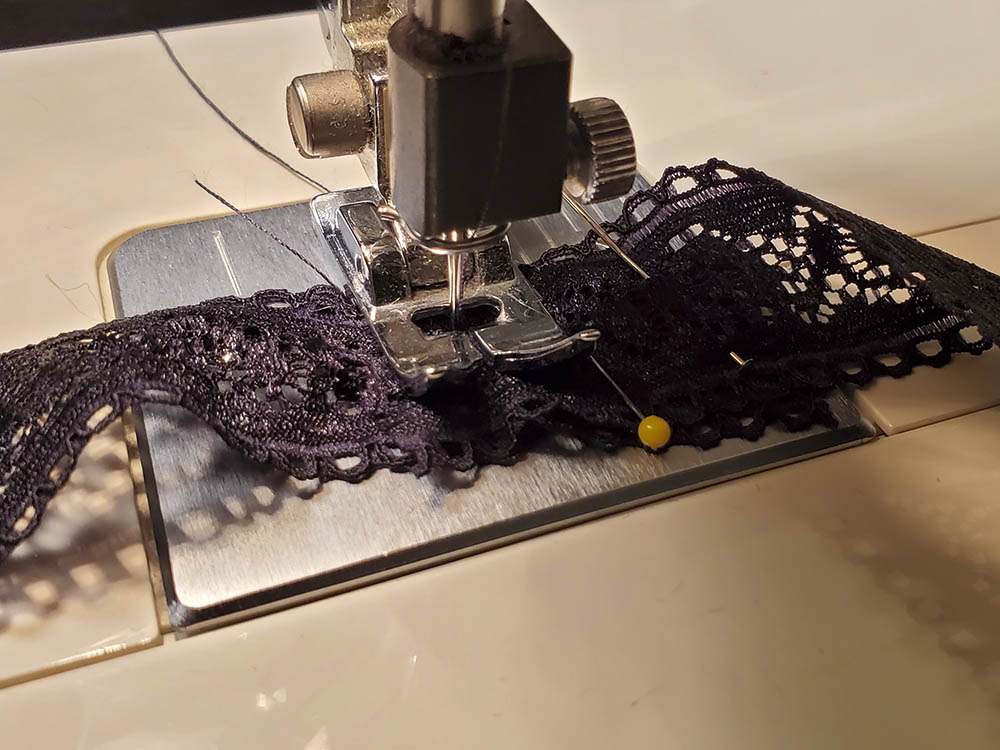
Sew the crochet or stretch lace, then slip it back onto the jewelry board.
Step Seven: Add the Jewelry
Finally! It is time to add the jewelry to your upcycled cigar jewelry presentation box! Use the ribbon loops to secure necklaces and bracelets at the top of the box, and attach earrings through the holes in the crochet or stretch ribbon lace.
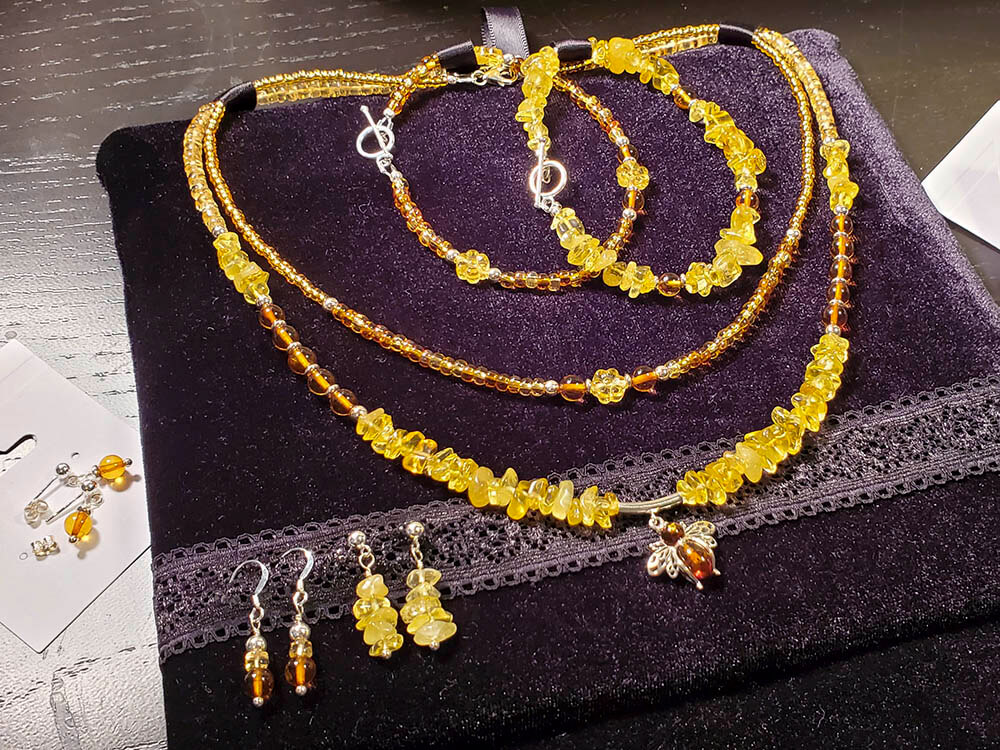
Gently place any chain or other extra pieces between the jewelry board and the folded fabric underneath, then fit your completed project inside the cigar box.
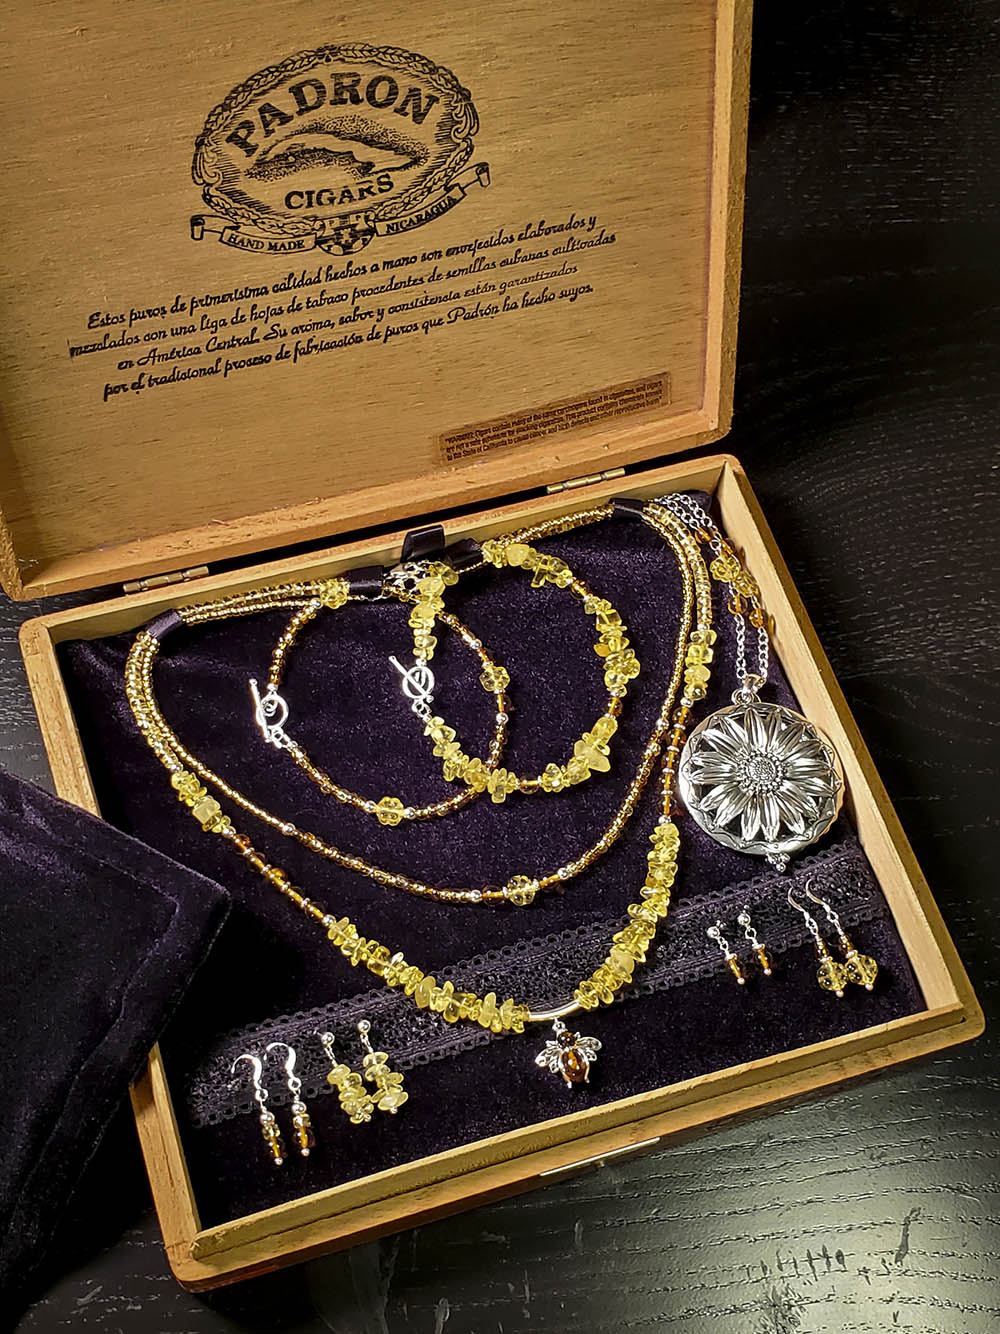
Congratulations! You have successfully created your own upcycled cigar jewelry presentation box! Take a moment to appreciate your work. Place the cover piece over your jewelry, and then wrap the closed cigar box with a decorative ribbon or string if it is a gift. I am sure your family or friend will absolutely love it!
If you make and share this project, please link back to my tutorial, and tag #JCB8MN and #LivingCr8tively so I can see your creation!

